How to print shipping label?
In this document we will go over of how you can print shipping labels with WooCommerce shipping plugin.
The number of steps you will have to take will vary depending on required steps enabled in Purchase Postage Workflow in the settings of the plugin.
1. Go to WooCommerce -> Orders.
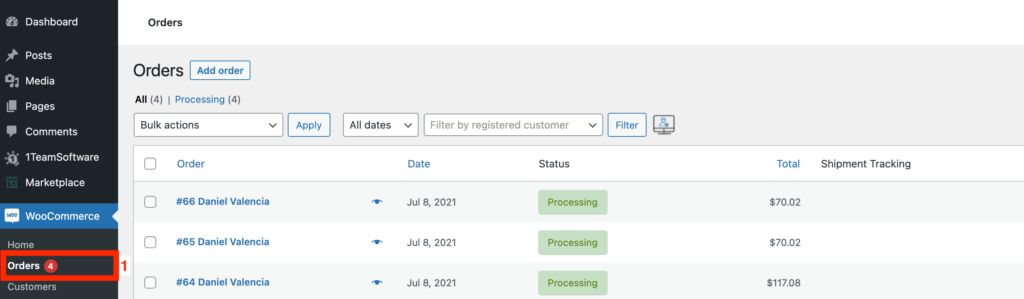
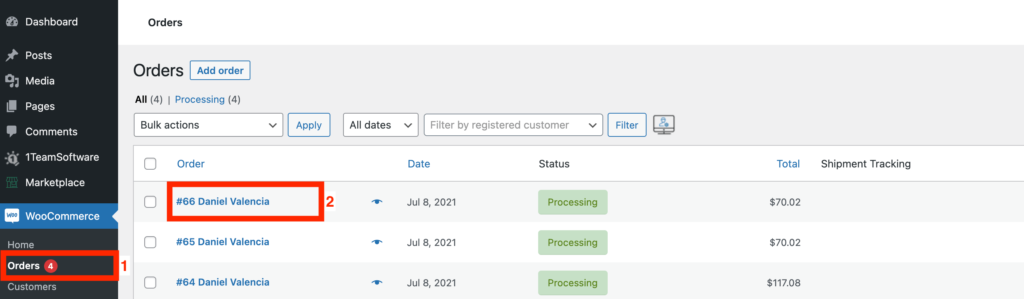
2. Click on an order you would like to print shipping label for.
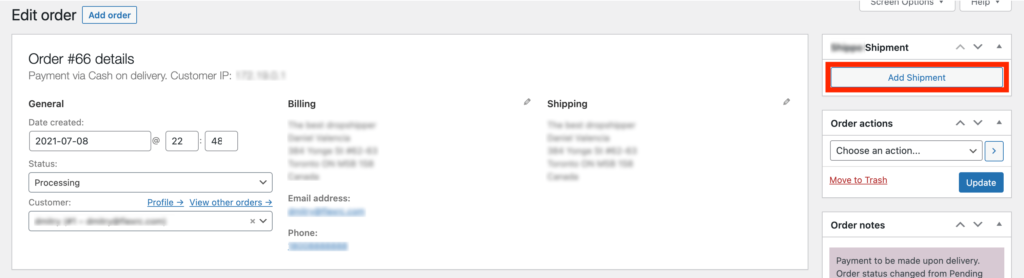
3. Click Add Shipment button Shipment box displayed on the right hand side of the order.
4. Verify and change, if necessary, type of the contents.
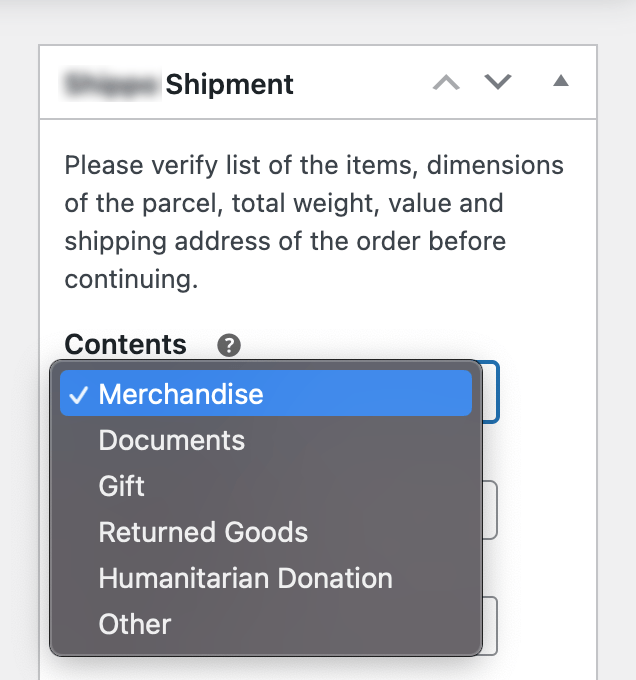
Please note that by default Contents will have a value set in Purchase Postage Defaults section of the settings of the shipping plugin.
5. Verify and change, if necessary, package description.

Please note that by default Description will have a value set in Purchase Postage Defaults section of the settings of the shipping plugin.
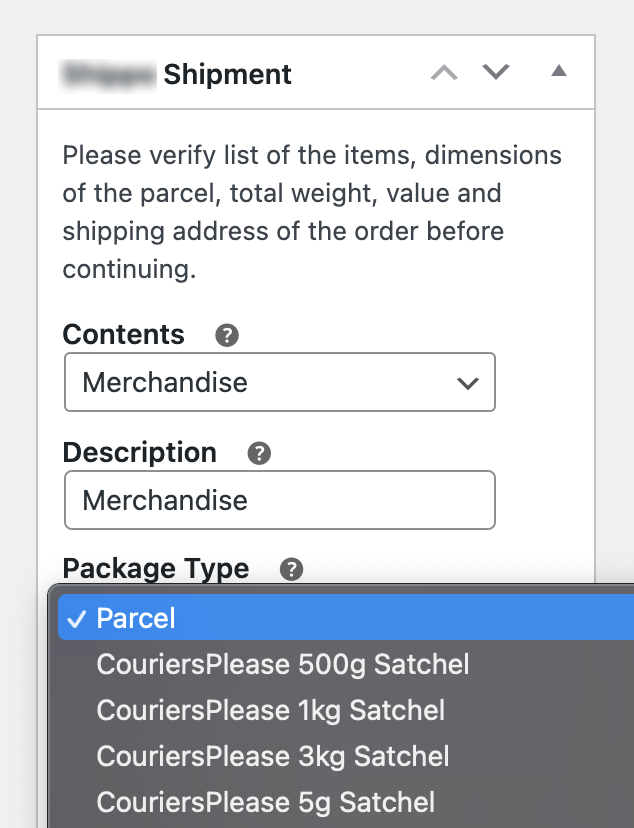
6. Verify and change, if necessary, package type. It is typically should be set to Parcel or to one of the special (pre-paid) carrier boxes.
7. International orders will have extra fields added next to each of the order item that will let you to customize customs item value, quantity, country of origin and tariff. You can review and modify this information as necessary.

Changing value or quantity will update value in the shipment details box.
8. Verify dimensions and weight of the package.
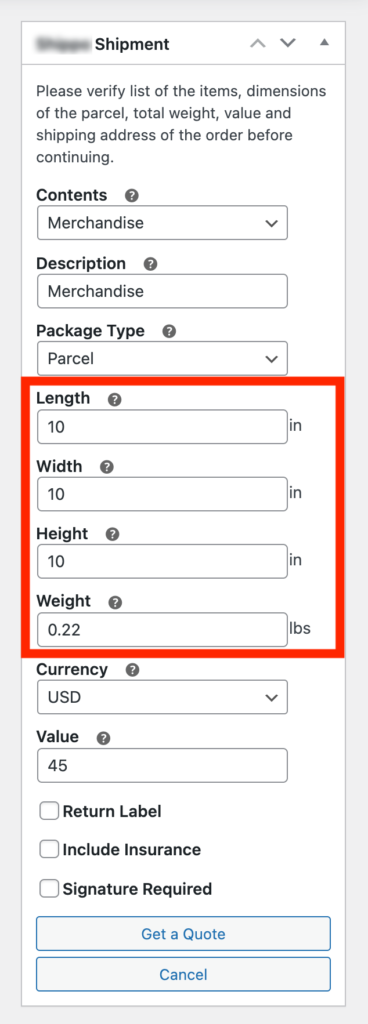
Please note that if your products have accurate dimensions and weight set, and you’ve properly configured all the boxes you use for shipping, then these values will be accurate in the majority of cases.
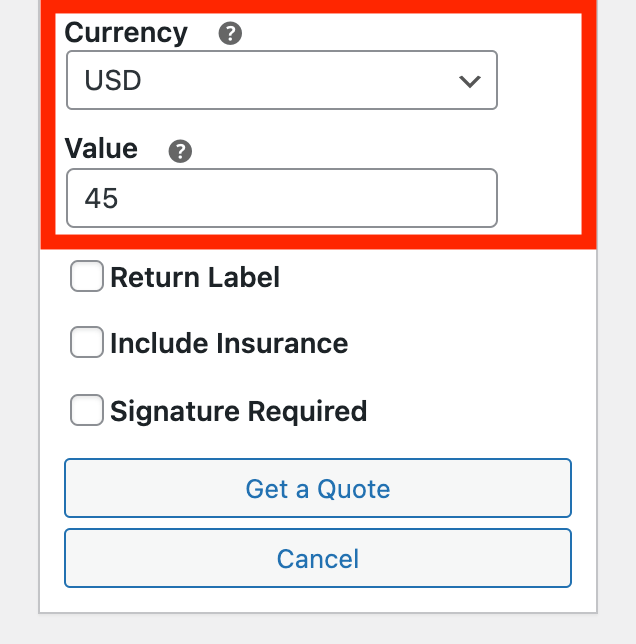
9. Verify currency and value of the package.
10. Check / uncheck, if necessary, Return Label, Include Insurance and other available checkboxes.
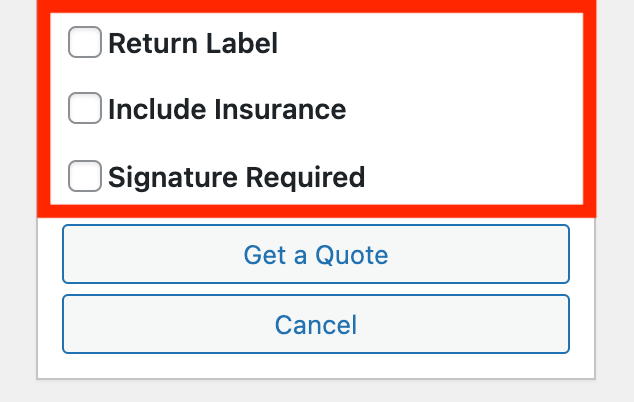
Please note that default value of these checkboxes depends on the settings of the shipping plugin.
11. Hit Get a Quote button.
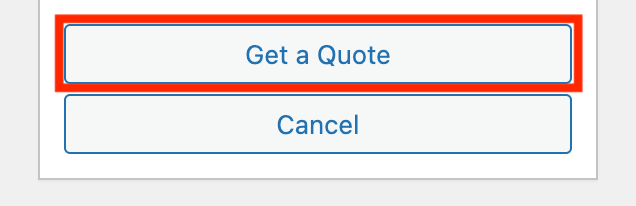
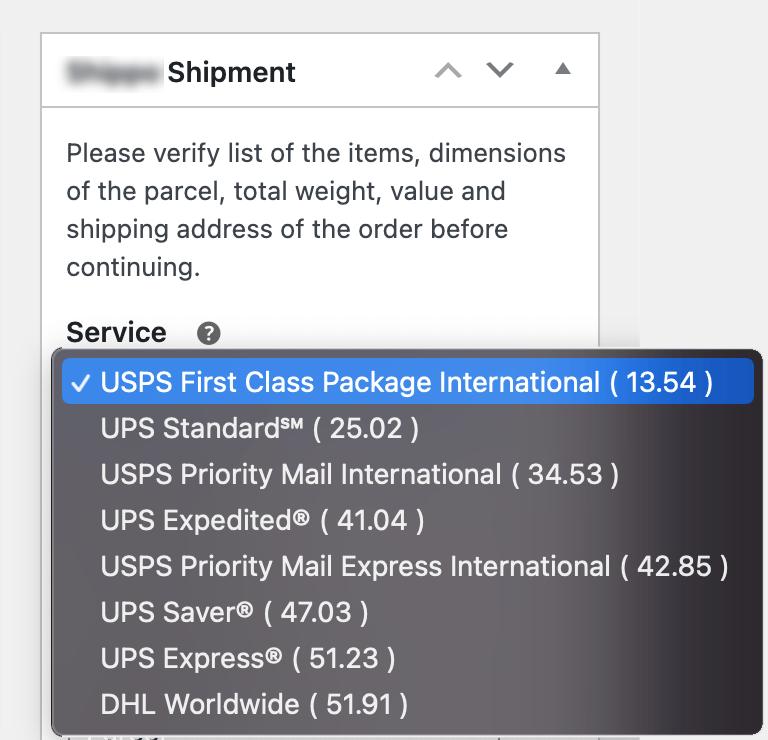
After successful execution, Service dropdown will be added at the top of the form.

The service that will be selected by default will be either the one that customer has chosen when placed this order or the one that has been set in Purchase Postage Defaults settings.
12. Choose, if necessary, a service you would like to print shipping label for.
13. Hit Create Shipment button.
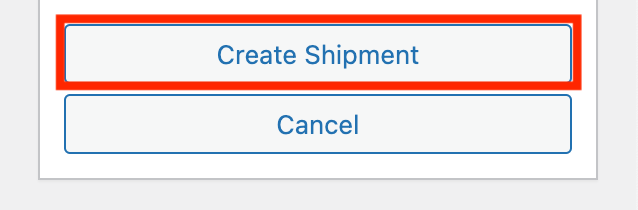
Please note that depending on your purchase postage workflow and if carrier supports creation of the shipments, you might see Purchase Shipment button instead.
14. Confirm shipment details.
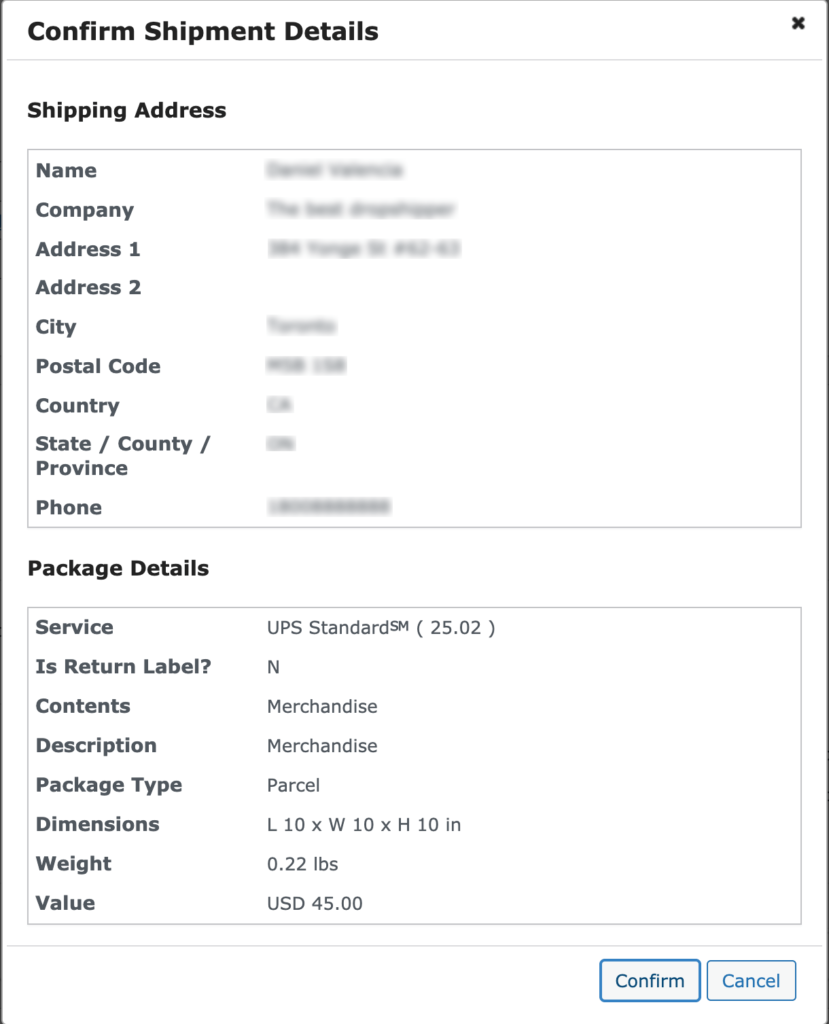
Please note that it will only be displayed when Require to Confirm Shipment Details option is enabled Postage Purchase Workflow section of the settings of the shipping plugin.
15. Click on Purchase Postage link.
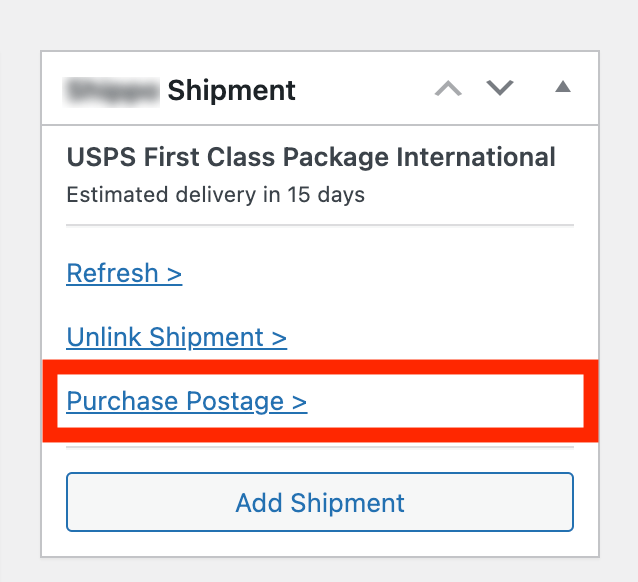
The resulting screen will contain various links that will let you track that shipment, print a label, refresh that shipment to get the last tracking details of it, as well as to unlink it from the order.
16. Click on PDF or PNG link to open and print a shipping label.
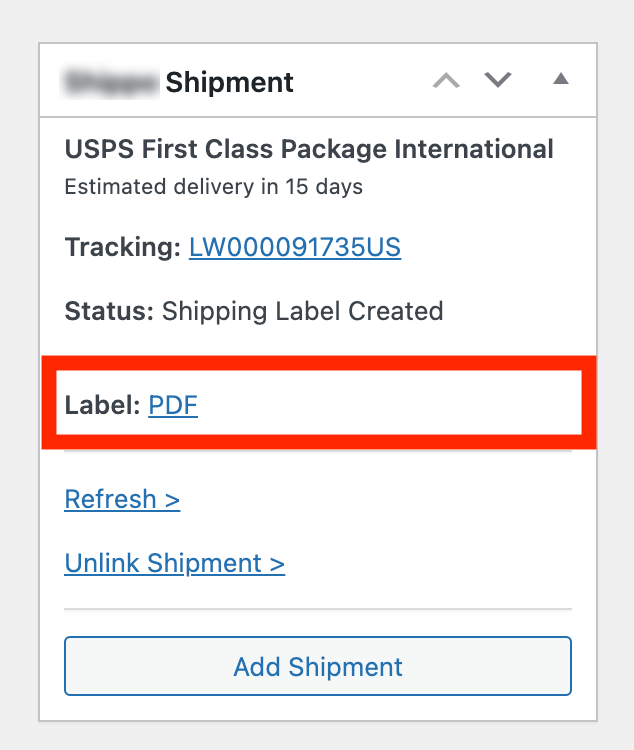
That should be all you have to do to print a shipping label!


