
How to Set Up Different Shipping Services for different shipping zones in WooCommerce
1 min read
When running a WooCommerce store, offering the right shipping options at checkout is critical for reducing cart abandonment. To maximize efficiency and customer satisfaction, you may want to provide different shipping services tailored specifically to distinct shipping zones.
In this step-by-step tutorial, we will demonstrate how to configure custom shipping services for two different shipping zones: the United States (USA) and Canada.
In this article, we will walk you through the configuration process to:
For the United States Zone: Display and offer domestic USPS shipping services.
For the Canada Zone: Provide international customers with a choice between USPS and UPS shipping services
By tailoring your shipping services options per shipping zone, you can provide the fastest, most cost-effective shipping rates at checkout for every customer.
1. Enable the shipping zone feature in the plugin #
Go to the “Live Shipping Rates” tab in the settings.
-enable the “Shipping zone” feature.
-in the “Shipping Zone Fields”, click on the drop-down column, select “Shipping services”.
Click the “save changes” button to save the settings.

2. Disable the shipping services in the plugin’s general settings #
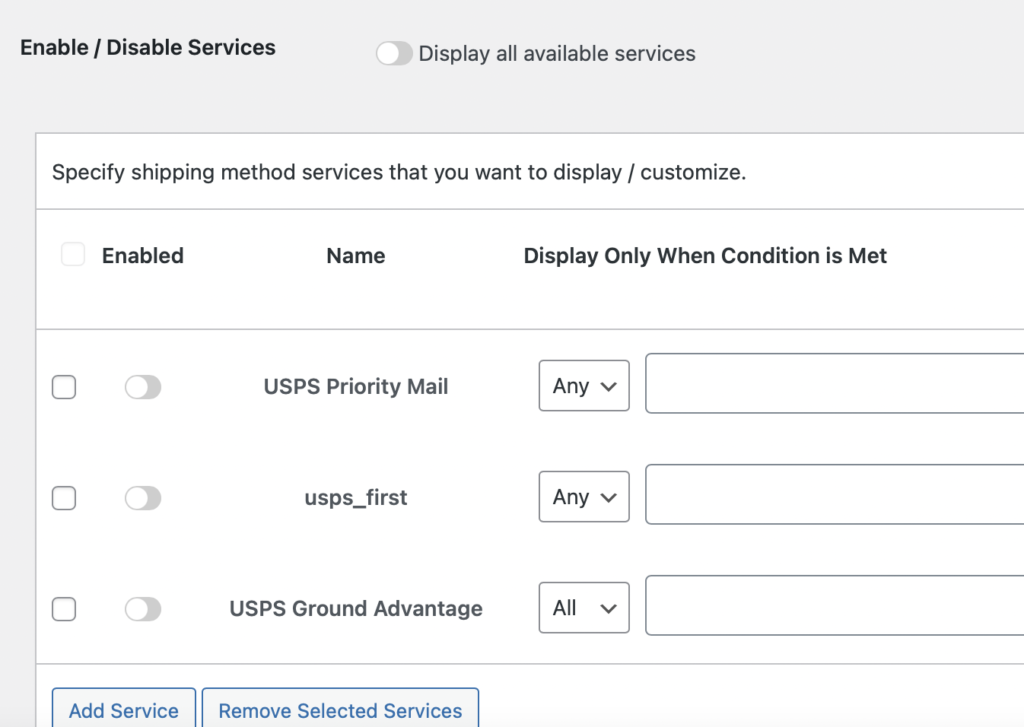
-Go to the “Shipping services” tab, and disable all the shipping services, so that it will not conflict with the services in shipping zones.
-Click the “save changes” button to save the settings.
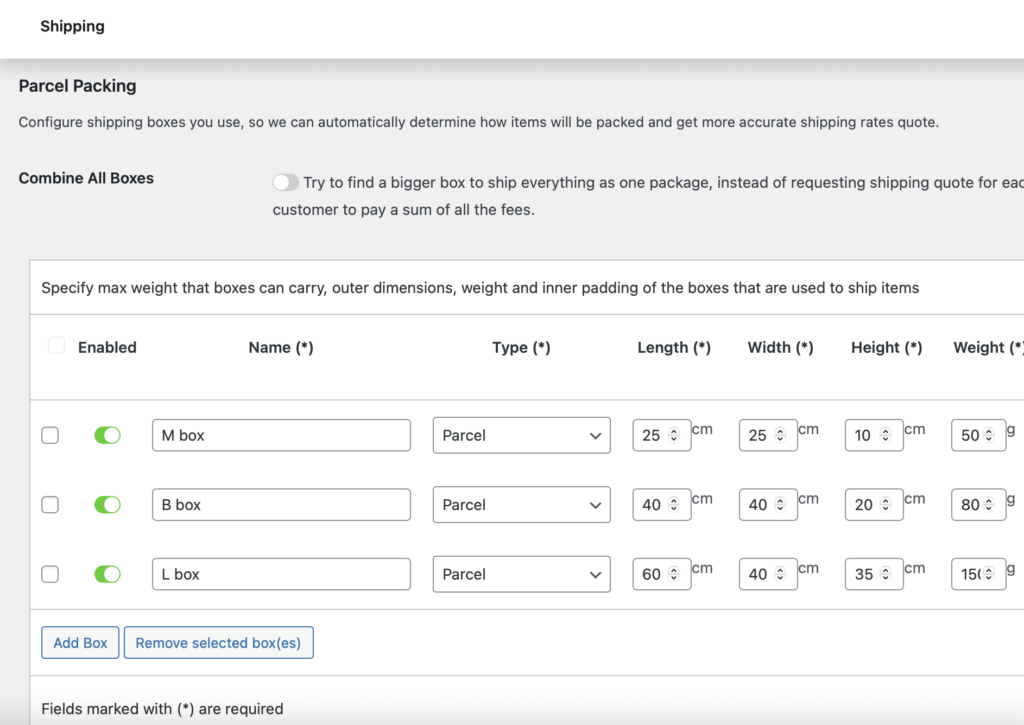
Go to the “Parcel packing” tab, and make sure you have configured the box you will use for shipping.
3. Set up USPS shipping services for USA area #
- Go to settings → Shipping zones → click on “add shipping zone”
- Create a USA zone, add “Shippo shipping” as a shipping method

-Please make sure the ” Shippo shipping” services is enabled.
-Click on the “edit” of the shippo shipping section.
-Select “Shipping services” tab, and enable the USPS shipping services you want to use for USA area. —Click “save the changes”, so the plugin can save the changes.
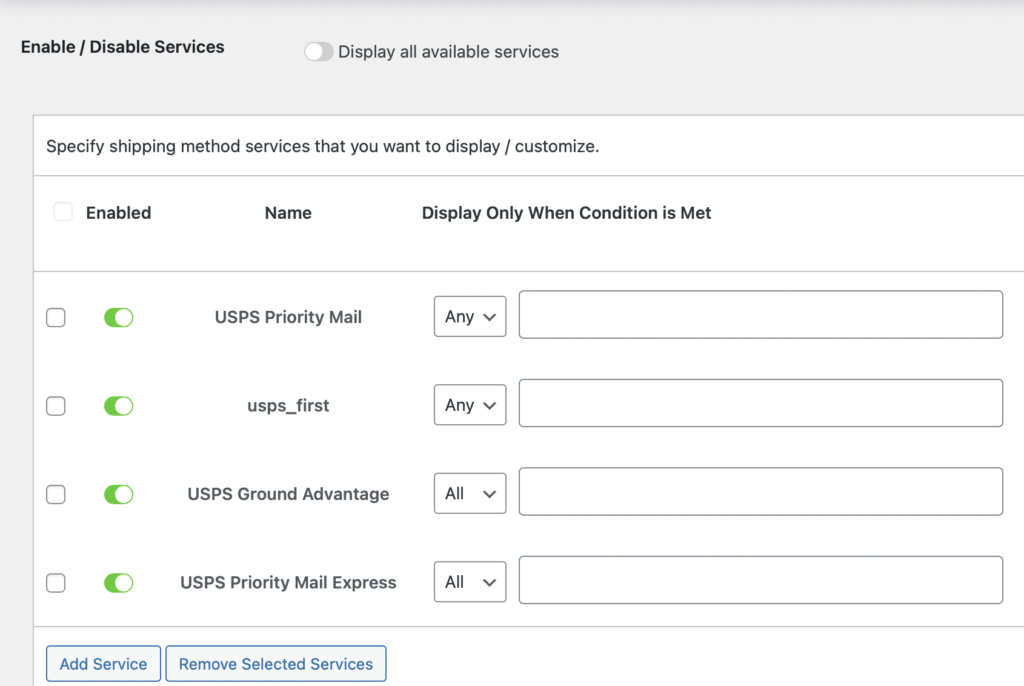
Please note that Shippo’s DHL Express master account does not support shipments within the United States.
Next, proceed to the store and conduct a test using a fresh set of USA postal codes. This will help verify whether the newly implemented shipping service settings are working correctly.
4. Set up USPS and UPS shipping services for Canada area #
Repeat the same procedure to create a shipping zone for Canada
– Go back to Shipping zones → click on “add shipping zone”
-Create a Canada zone, add “Shippo shipping” as a shipping method
-Make sure the” Shippo shipping” services is enabled.
-Click on the “edit” of the shippo shipping section.
-Select “Shipping services” tab, go add and enable the USPS and UPS desired shipping services you want to use for Canada area. Save the settings.
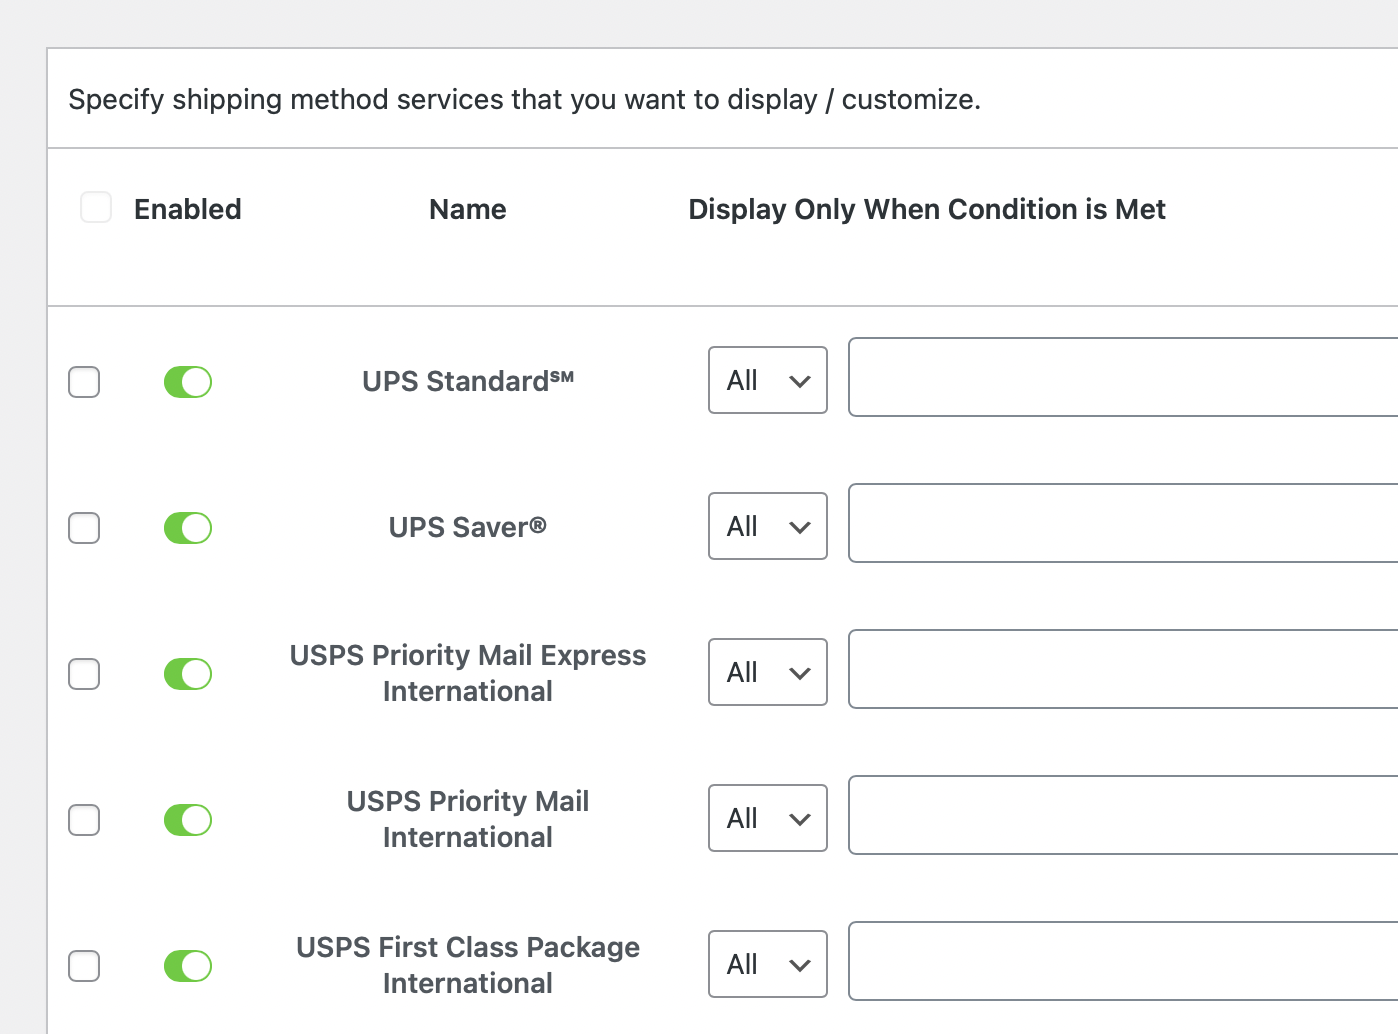
Then go to the store and perform a new test with a new Canada postal codes. This will help verify whether the newly implemented shipping service settings are working correctly.


