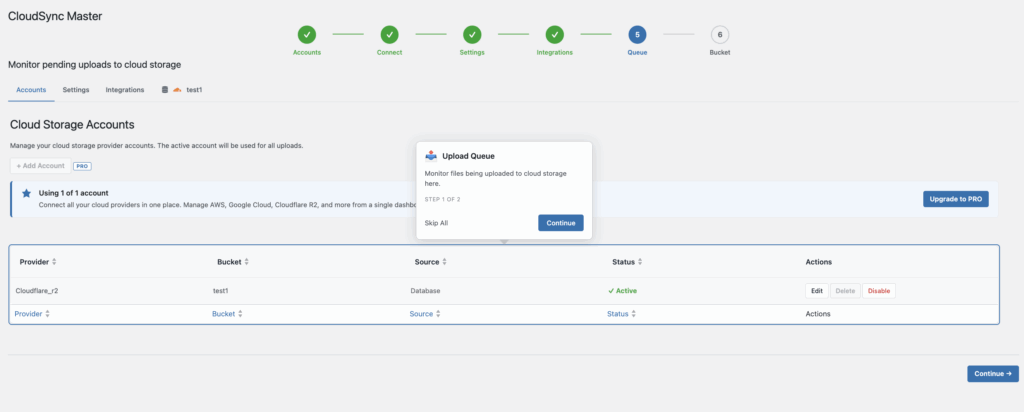
With CloudSync Master, you can seamlessly transfer your WordPress media to cloud platforms such as Google Cloud Storage, Cloudflare R2, Amazon S3, and more, offering compatibility with 10 different cloud providers
While many competing plugins restrict their free version to just 1–3 cloud providers, CloudSync Master includes access to all 10 providers from the beginning, even for the free version.
By moving your media files to cloud storage and delivering them through CDN, you can:
Improve website performance
Reduce server load and bandwidth usage
Boost SEO rankings
Scale your site more efficiently
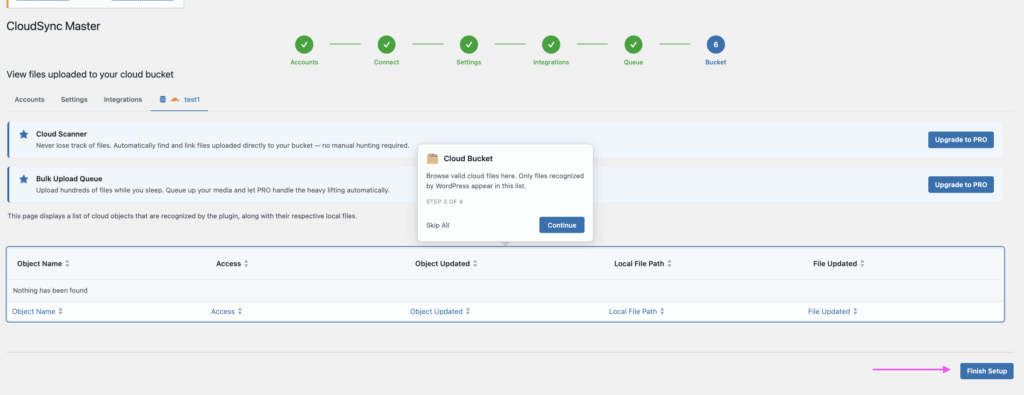
This step-by-step guide will walk you through the entire setup process.
First, you will need to create an account with your chosen cloud provider (for example, Google Cloud Storage or Cloudflare R2). Follow the respective account creation guide to obtain the required credentials.
Once you have your cloud storage account and access details ready, you’ll be able to configure the free version of CloudSync Master PRO and start optimizing your WordPress site.
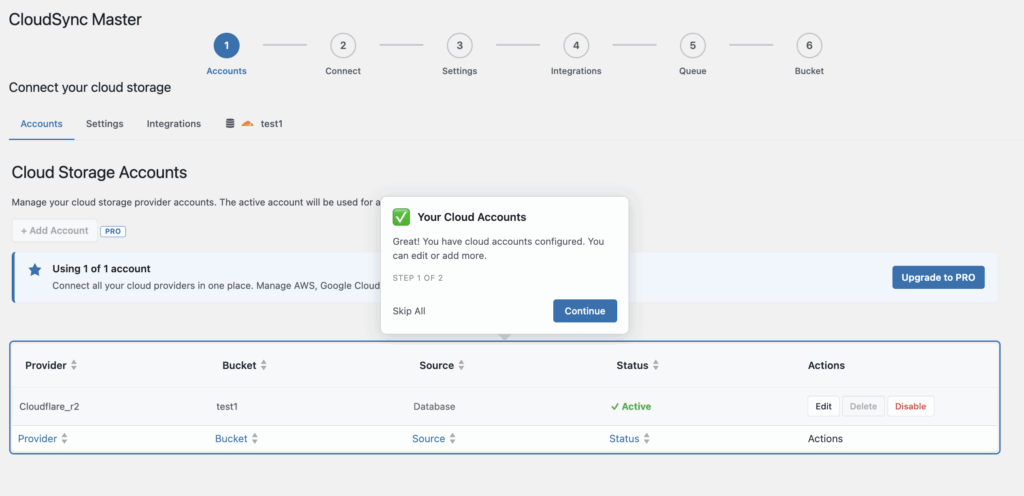
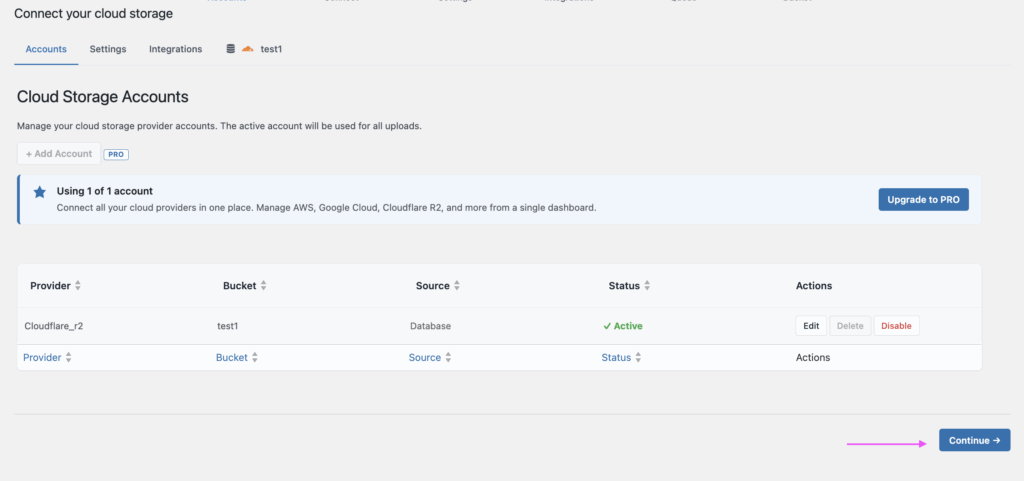
Let’s get started. In this guide for the free version of CloudSync Master, we will use Cloudflare R2 for demonstration purposes.
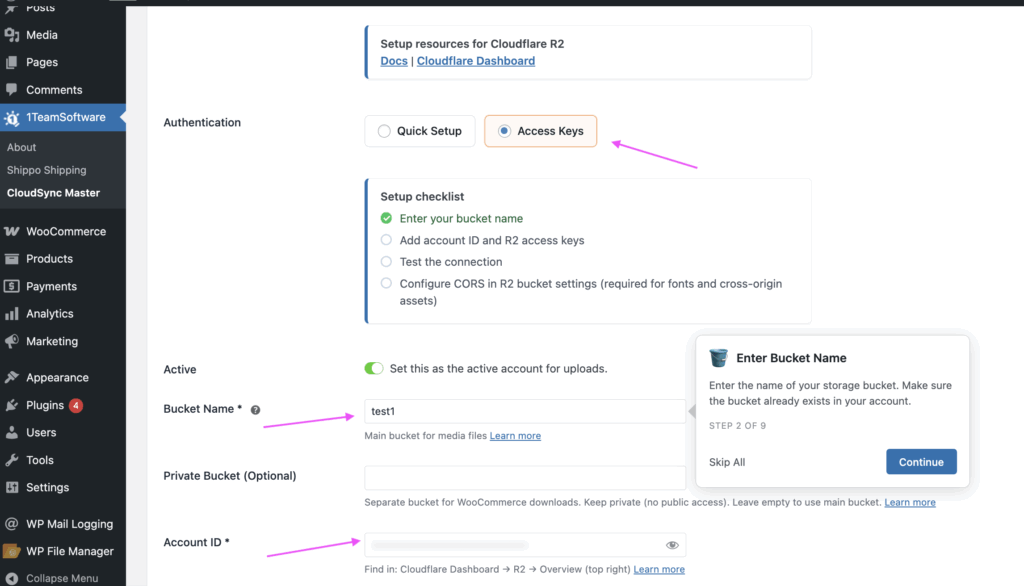
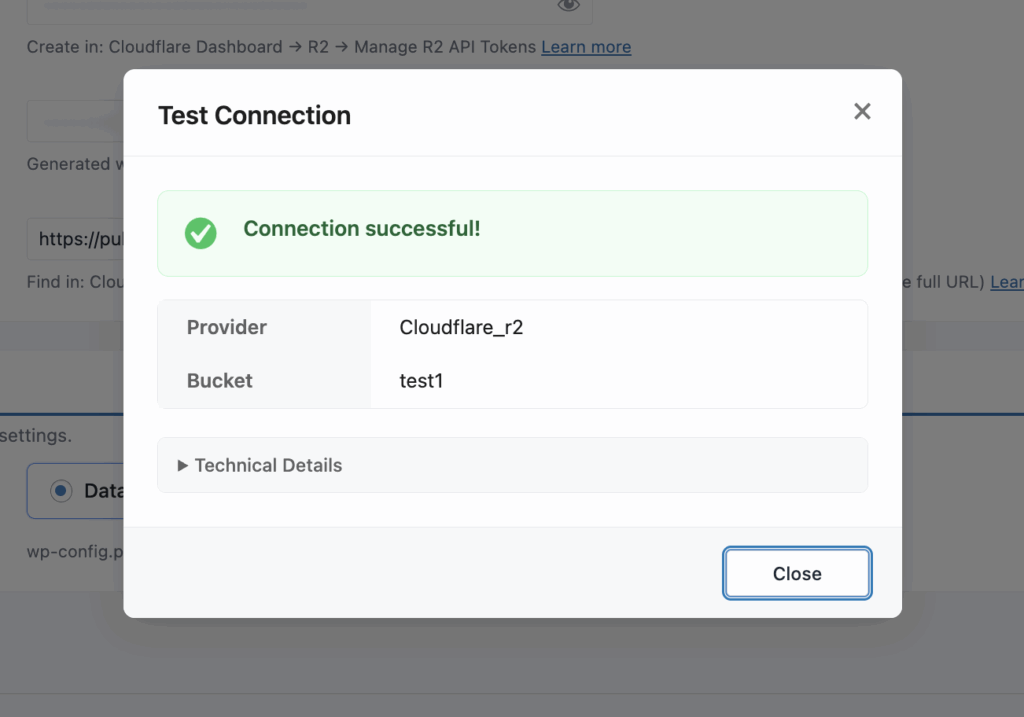
When using the CloudSync Master PRO plugin, please make sure you have the information listed below from your Cloudflare account:
Account Name: A name easy to remember (e.g., “test 1”).
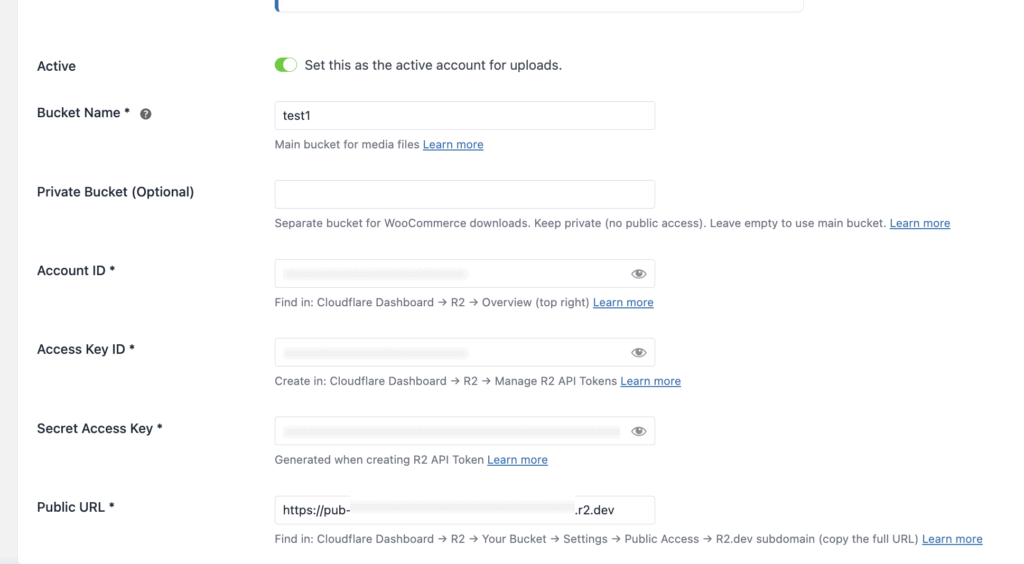
Account ID: Your cloud storage Account ID
Bucket Name: The name of the bucket you created in your cloud storage account.
Access Key ID: From your cloud storage account
Secret Access Key: From your cloud storage account
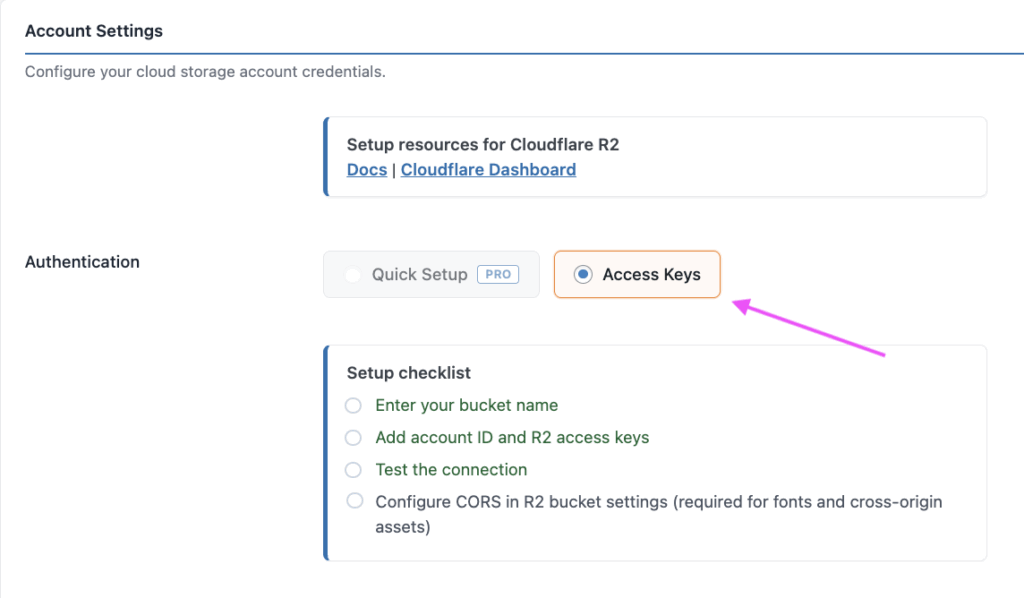
Quick Setup (PRO Version Only): Use the Quick Setup option to automatically connect your cloud storage account with minimal configuration.
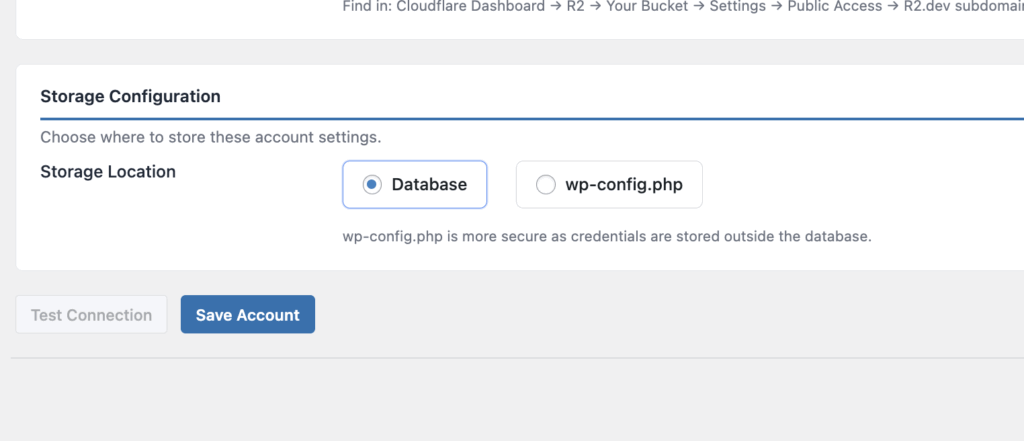
Access Keys (Free Version): For the free version, you will need to manually enter the required access credentials provided by your cloud storage provider.
Since this guide covers the free version of the plugin, please select “Access Keys” in this section.
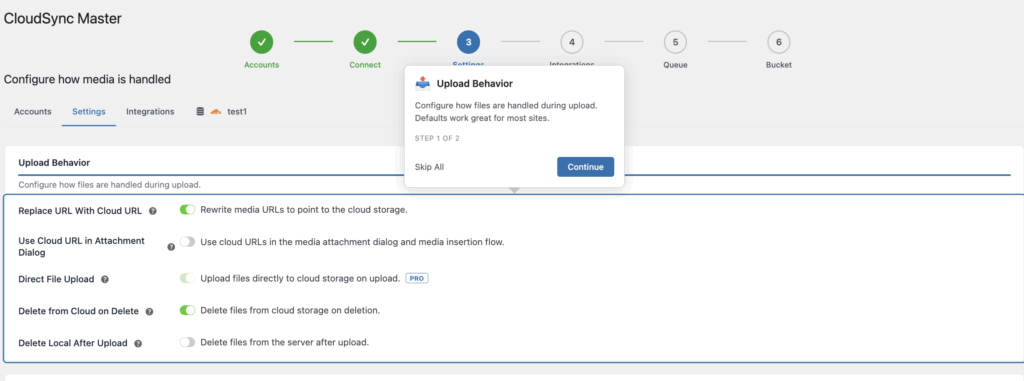
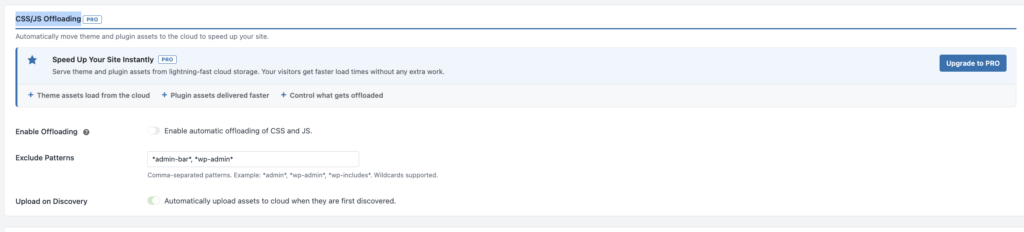
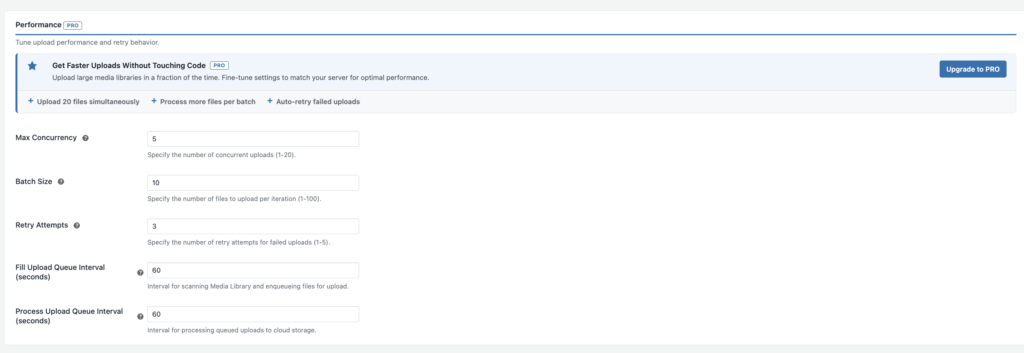
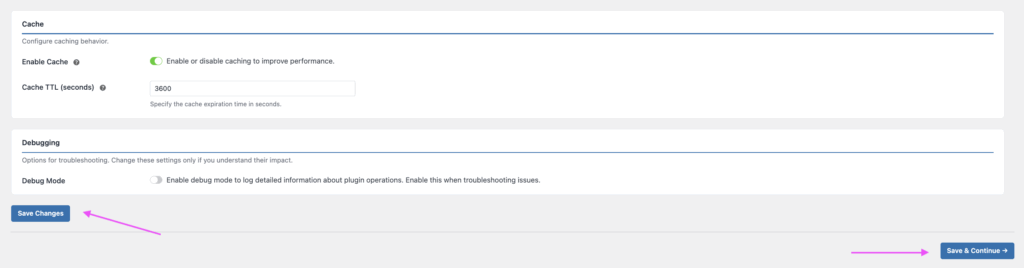
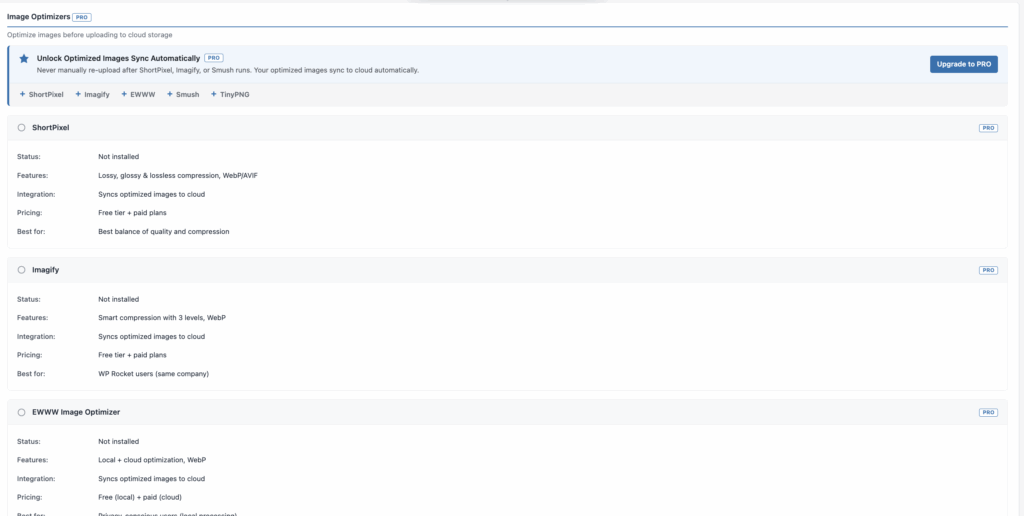
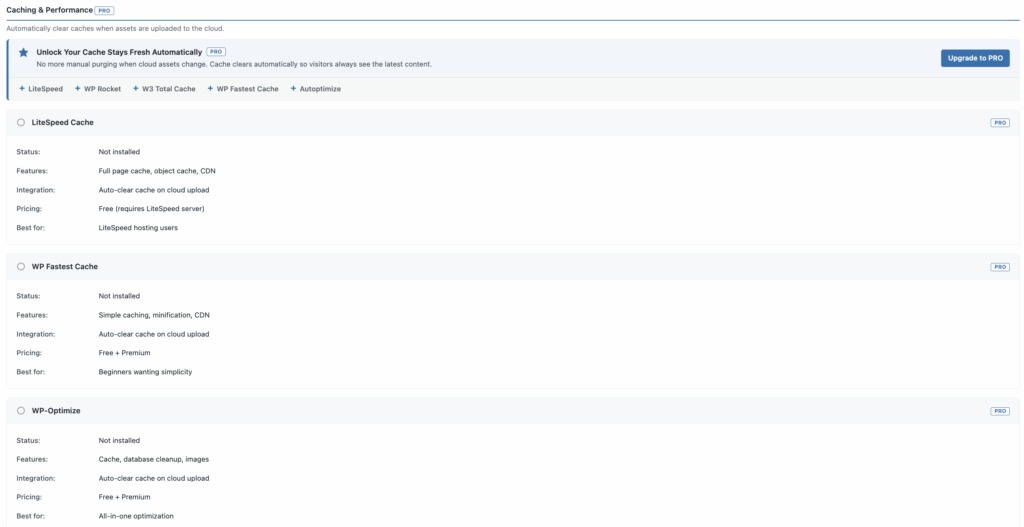
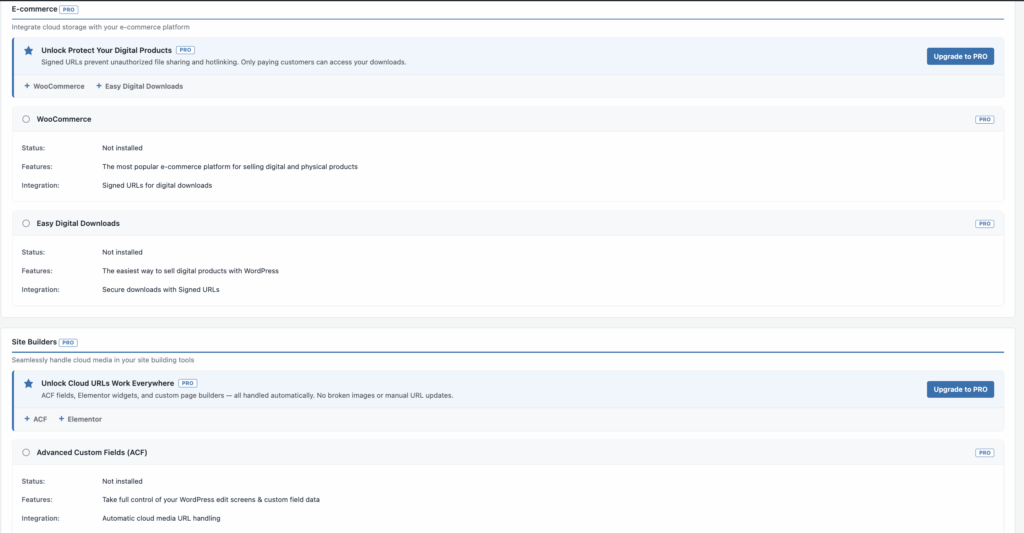
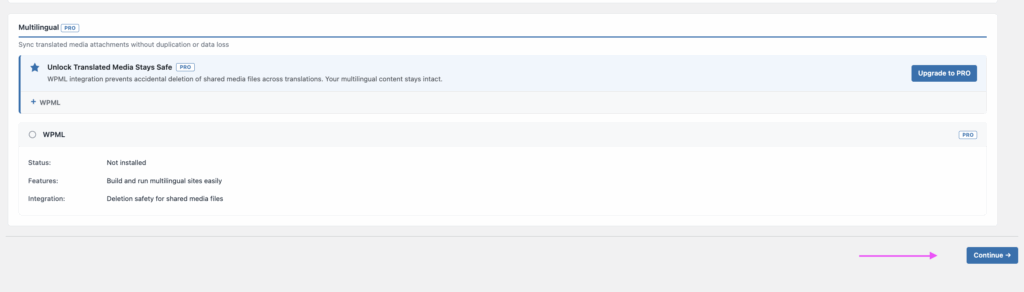
This section contains settings for image optimization, caching and performance, e-commerce platform selection, site builders, and multilingual options. These features are available in the PRO version only.
If you are using the free version of CloudSync Master, you can simply review this section and click “Continue” to move to the next step.
 Shipping Discount for WooCommerce
119 × $0.00
Shipping Discount for WooCommerce
119 × $0.00  Live Shipping Rate Plugin configuration- simple adjustment
166 × $50.00
Live Shipping Rate Plugin configuration- simple adjustment
166 × $50.00  Shipping Packages for WooCommerce
83 × $0.00
Shipping Packages for WooCommerce
83 × $0.00