How to setup Shipping Zones?
In this document we will learn how to enable and then add shipping plugin to the WooCommerce Shipping Zones.
Why do you need Shipping Zones? #
WooCommerce Shipping Zones let you control for which destinations plugin’s live shipping rates will be displayed.
By default, shipping plugin will display live shipping rates for any destination in the world, but there are cases when you might want live shipping rates to be displayed only for certain countries, cities of even postal codes, this is when you can enable Shipping Zones feature.
How to enable Shipping Zone feature? #
In order to take advantage Shipping Zones, you will have to:
1. check Shipping Zones checkbox.

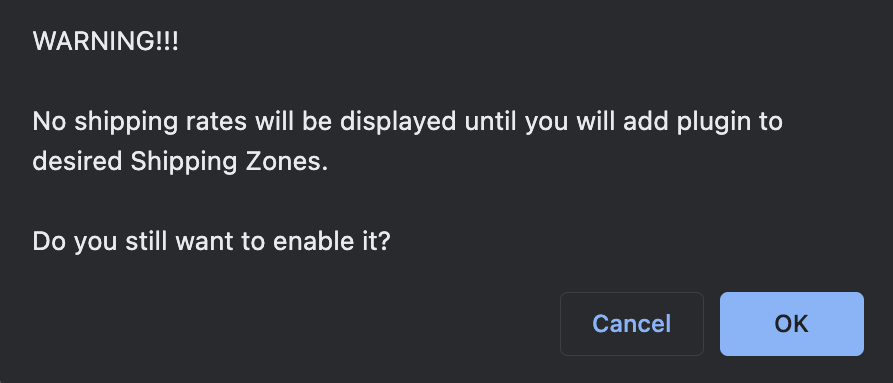
2. Confirm that you understand that with this feature enabled, shipping rates will only be displayed in the shipping zones where plugin has been added.
3. Hit Save changes button at the bottom of the settings page.
How to add plugin to a Shipping Zone? #
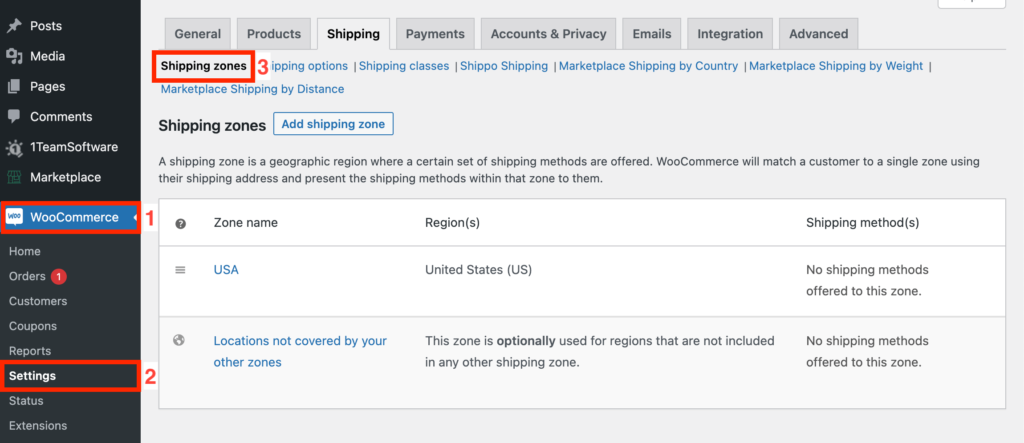
1. Go to WooCommerce -> Settings -> Shipping -> Shipping Zones.
2.1. If you want to add a new Shipping Zone, then hit Add shipping zone button and go to step 5 of this guide.

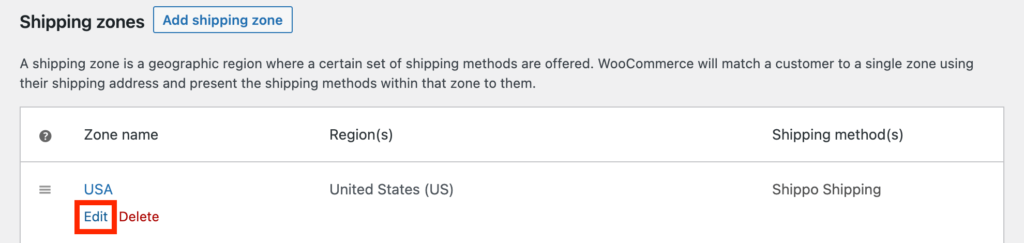
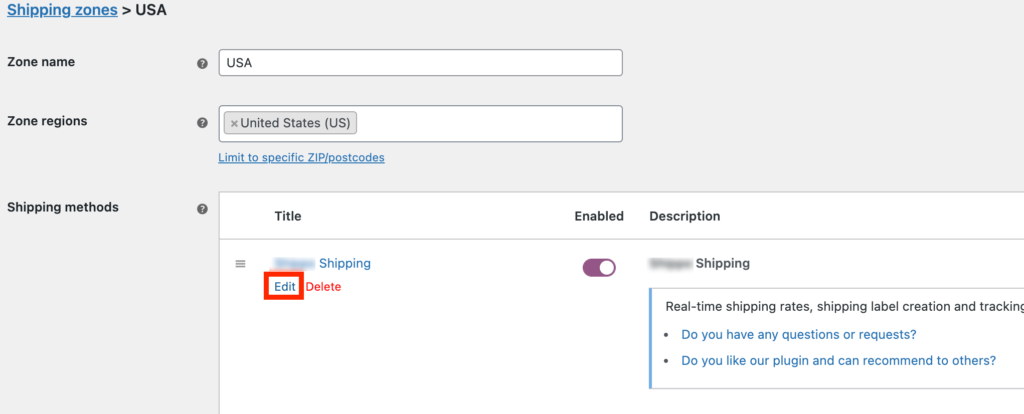
2.2. If you want to add plugin to existing Shipping Zone, then hover over the name of a shipping zone you want to edit and click on Edit link under its name, then proceed to Step 6.
3. Enter new Zone name and Zone regions it should cover.
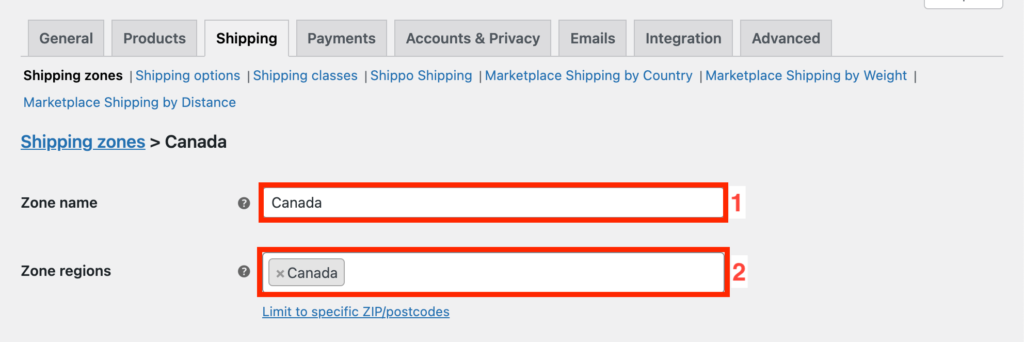
Please note that shipping zones can’t overlap and WooCommerce does not display any validation errors when it happens, but as the result of overlapping only shipping methods from the first zone will work. So if you have a shipping zone that covers the same region then edit it instead.
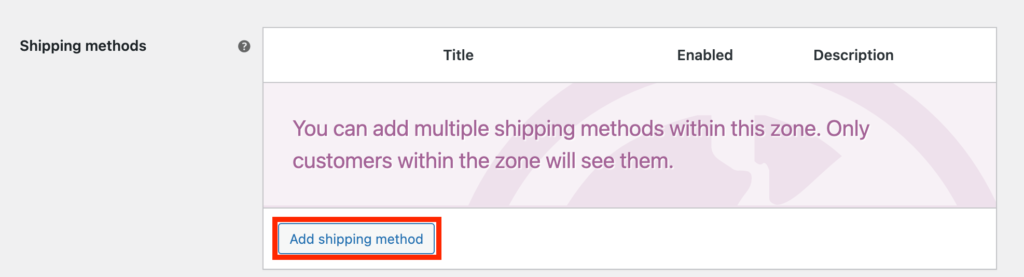
4. Hit Add shipping method button.
5. In the displayed Add shipping method dialog, choose a name of a shipping plugin and hit Add shipping method button.
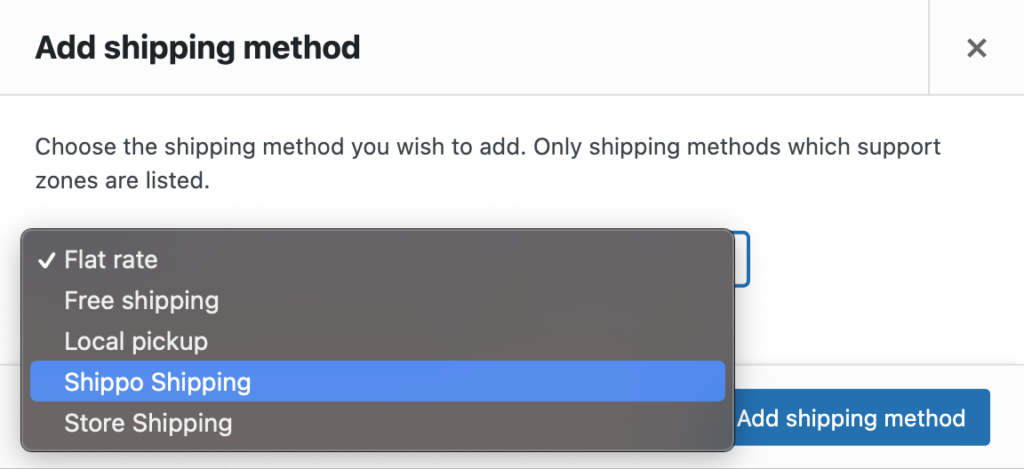
Please note that Shippo Shipping is used just as an example and name will match the name of the 1TeamSoftware shipping plugin you have installed and activated on your system.
6. If Save Changes button at the bottom of the page is enabled then hit it.
You can repeat it for all the shipping zones, where you want live shipping rates to be displayed.
How to customize settings for every shipping zone? #
Shipping plugin allows to customize selected fields from the settings for every shipping zone where plugin is being added.
1. Choose one or all of the available shipping zone fields you would like to overwrite in each shipping zone.

2. Hit Save changes button at the bottom of the settings page.
3. Go to WooCommerce -> Settings -> Shipping -> Shipping Zones.
4. Hover over the name of a shipping zone you would like to edit and click on Edit link under its name.
5. Hover over the name of a shipping plugin and click on Edit link under its name.
6. You will be presented with the settings form that will let you overwrite global settings for a given shipping zone.

Depending on the Shipping Zone Fields that you’ve listed in the main settings of the plugin, you will have a different set of settings available for you to work with.
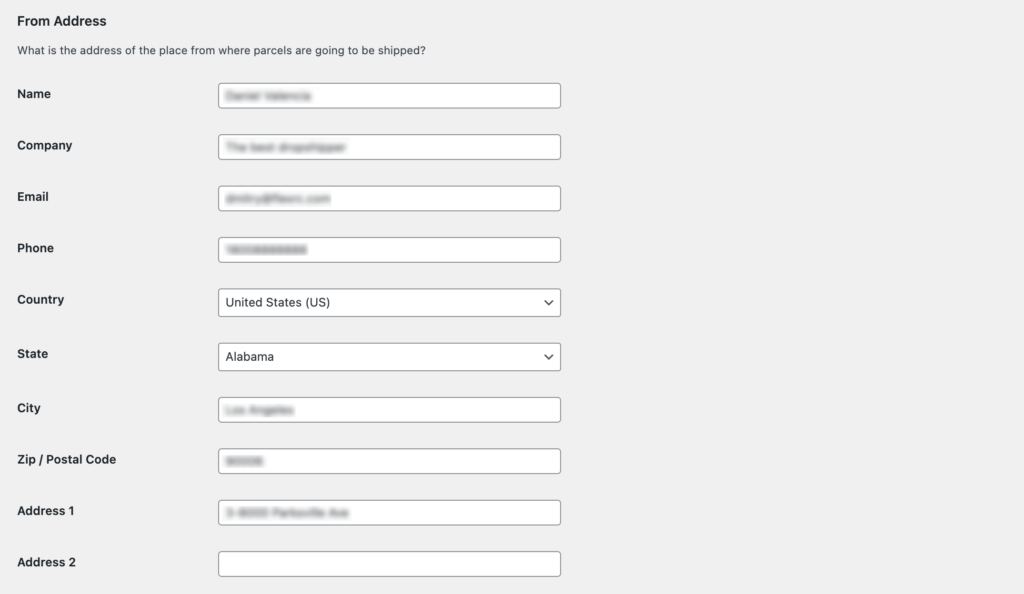
From Address – will let you specify a different location where you will be shipping your orders from for a given shipping zone.
Parcel Packing – will let you specify different boxes for a destination served by that shipping zone.
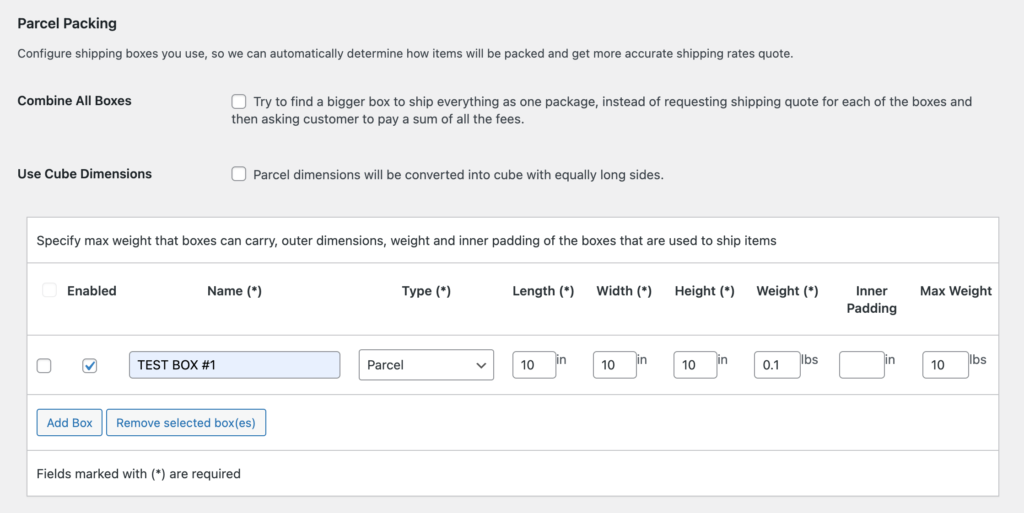
You will also be able to overwrite Combine All Boxes and Use Cube Dimensions settings.
Services – will let you specify different customizations for the services for a given shipping zone.
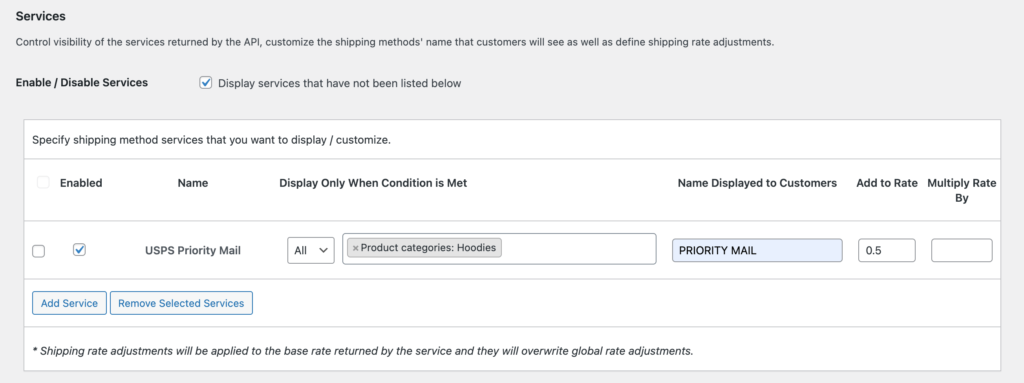
You will be able to display a different set of live shipping rates as well as setup different rate adjustments for that destination.
7. Hit Save changes button at the bottom of shipping zone settings page.
Please note that these settings will be only applied to a selected shipping zone and they will completely overwrite specified settings.


