E-Commerce Shipping
How to Set Up EasyPost Shipping on WooCommerce

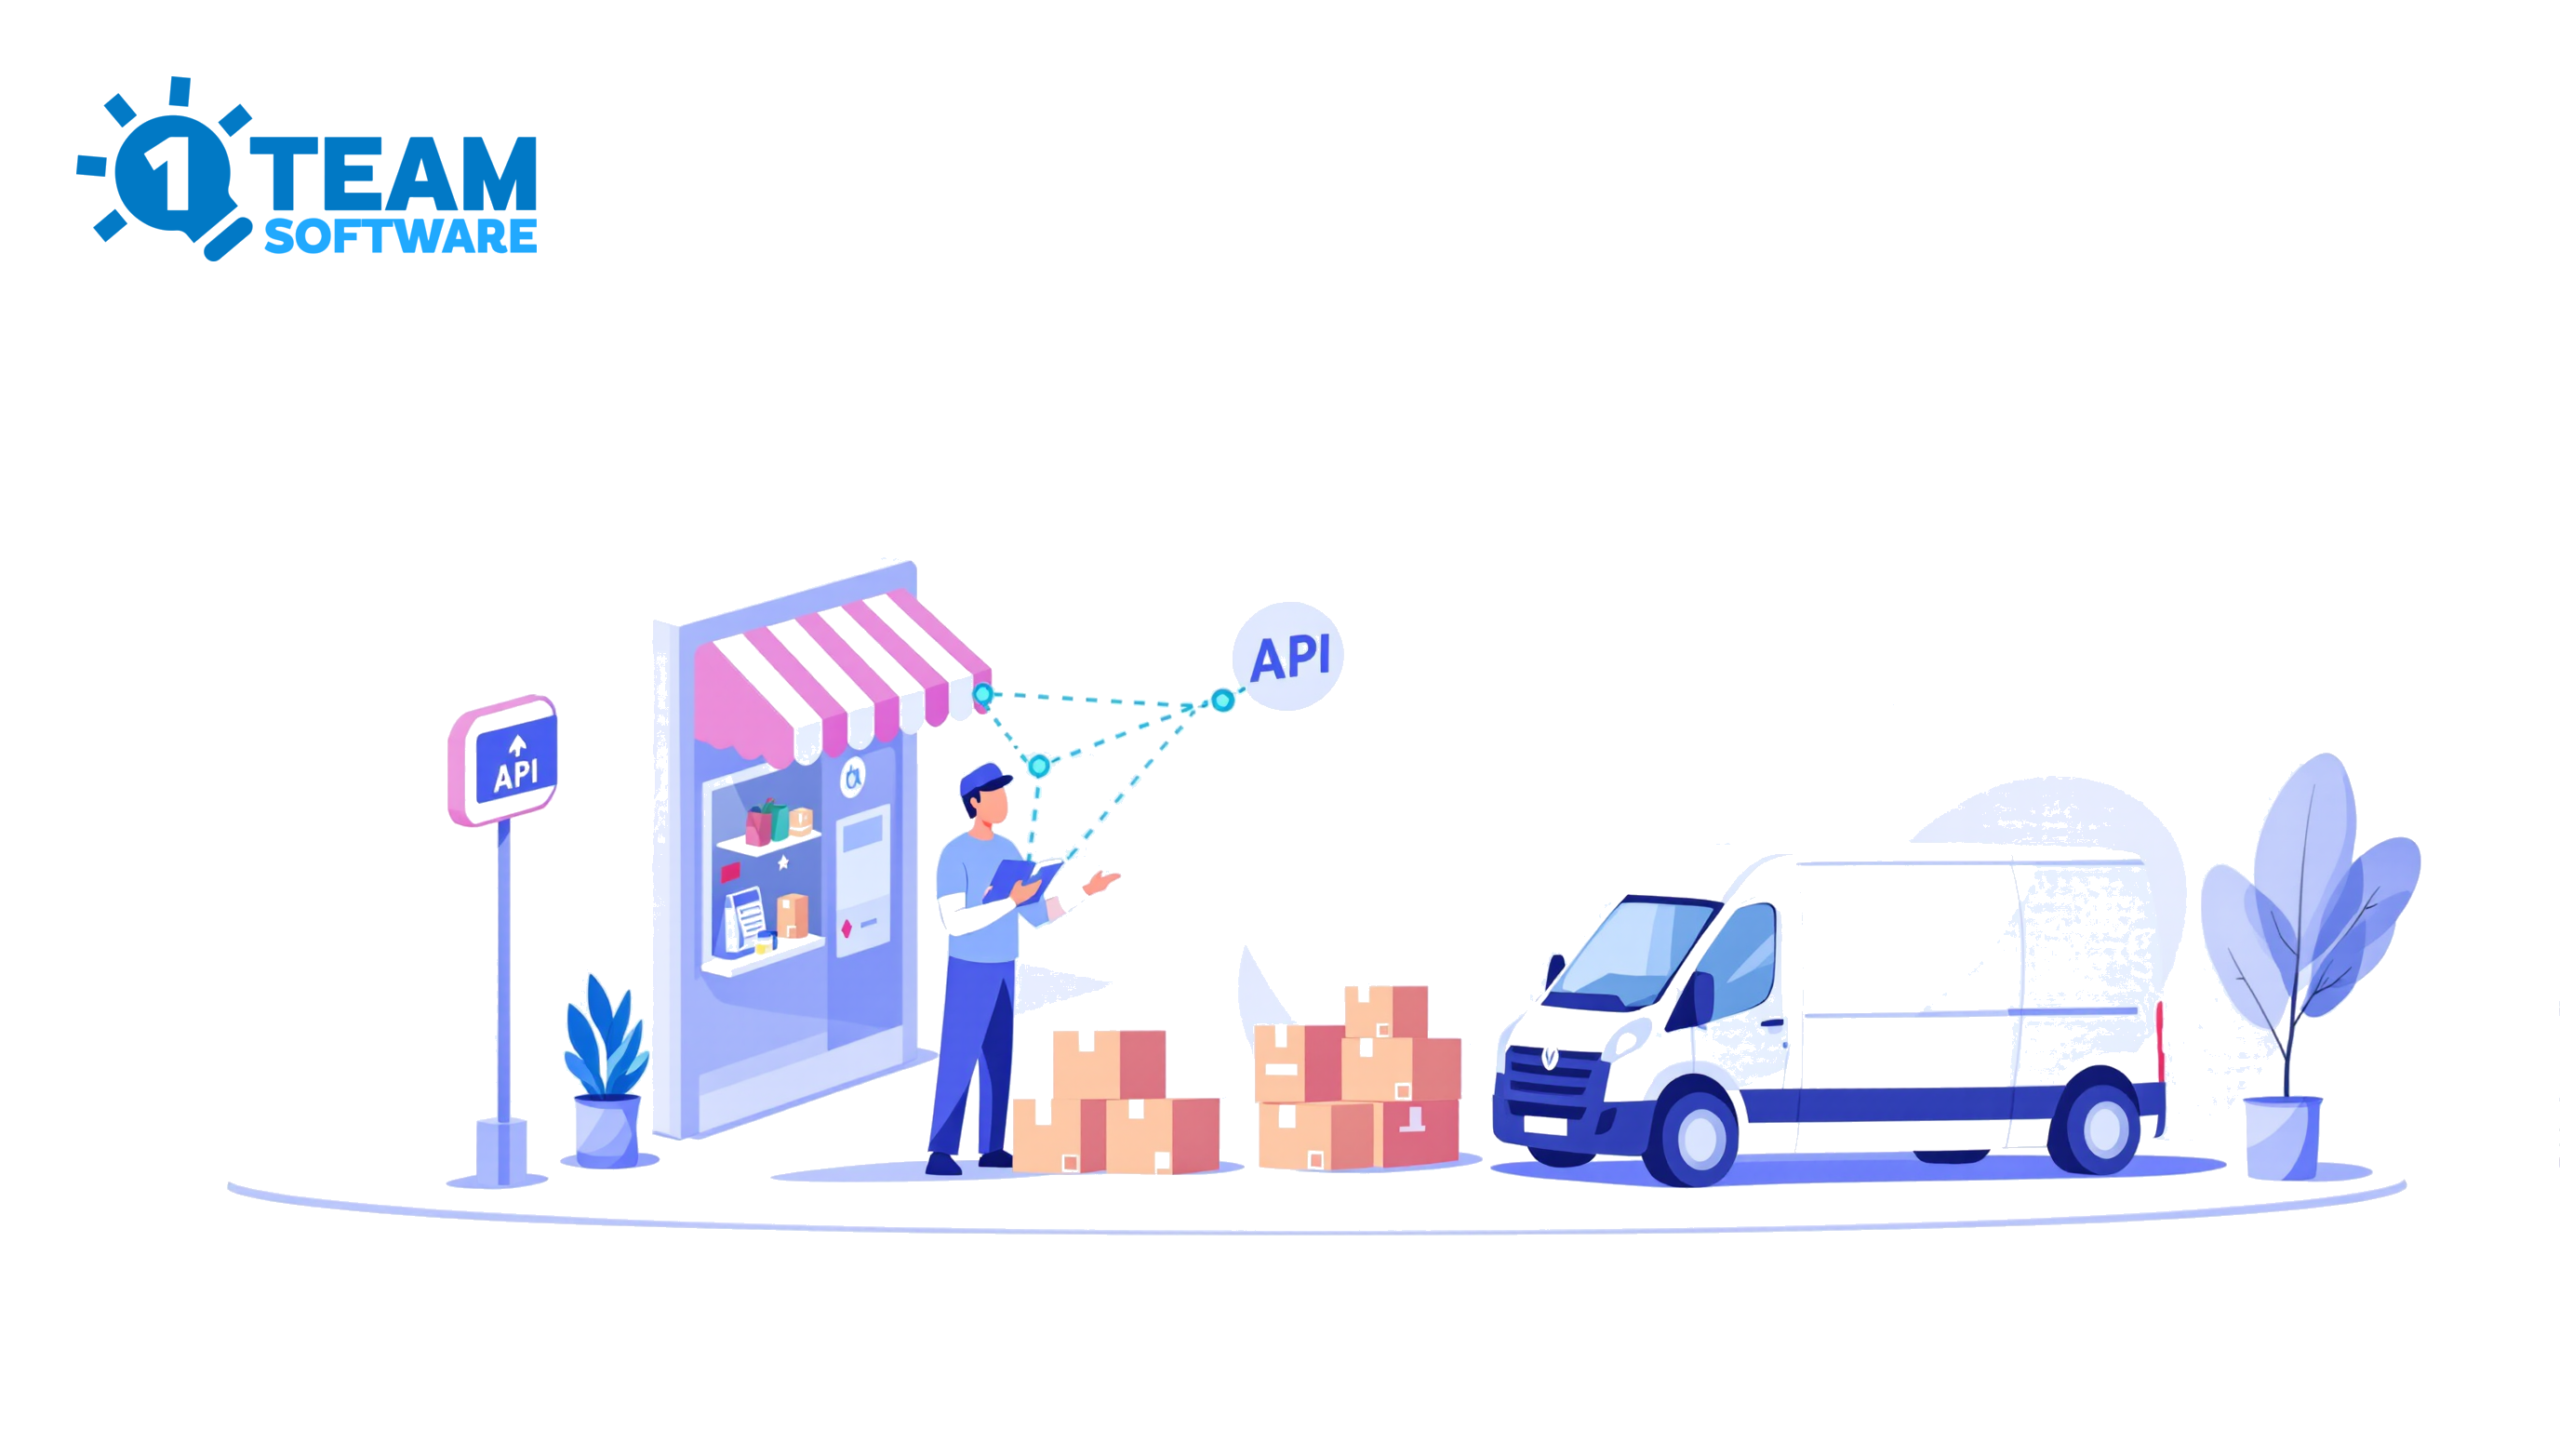
Getting live EasyPost rates at WooCommerce checkout starts with one connection: your EasyPost API key. From there, you give the EasyPost Shipping PRO plugin the details it needs to quote real prices: your origin address, the boxes you actually use for packing, and the shipping services you offer. Then you run a single rate quote to confirm the EasyPost API answered. Drive it through the WooCommerce settings screens, issue the same setup as terminal commands, or delegate the whole sequence to an AI agent that fires those commands for you and stops only to request your key. Whichever interface you pick, the EasyPost API calls reaching EasyPost are byte-for-byte the same. The EasyPost Shipping PRO plugin behind this runs on 7,000+ active stores and is rated 4.89 out of 5.
Here is where almost everyone gets stuck. You sign up for EasyPost, drop your EasyPost API key somewhere, then go looking for shipping rates at checkout. There aren’t any. EasyPost is a developer-first API. It answers the calls you make and stops there, so on its own the account does nothing for your WooCommerce store. Checkout falls back to a flat-rate guess that bleeds margin on heavy orders, or shows nothing, and the cart gets abandoned. What the buyer needs from you at checkout is a precise, EasyPost-sourced shipping figure surfaced before they decide whether to place the order. Baymard Institute puts documented cart abandonment near 70% on average, and surprise shipping costs rank among the top reasons people bail.
What you actually need is a WooCommerce shipping plugin that asks EasyPost for a quote the moment a buyer enters an address. It converts EasyPost API responses into shipping services and rates that customers can select at checkout, shipping labels you can purchase, and tracking information you can send to customers. EasyPost remains the engine behind the process. The EasyPost Shipping PRO plugin is the part your store and your customers see.
Try EasyPost Shipping Free on WordPress.org | See EasyPost Shipping PRO Features
TL;DR
- EasyPost is a shipping API with a large carrier network, and it does not offer checkout rates on its own. The WooCommerce shipping plugin, like EasyPost Shipping PRO plugin brings live EasyPost rates to cart and checkout, plus labels, tracking, and multivendor origin logic.
- You need an EasyPost account and two API keys: a test (sandbox) key and a production key. EasyPost has its own pricing, including a free tier and bring-your-own-carrier options, separate from the shipping plugin license.
- The CLI namespace is
wc-easypost-shipping. Discover the real credential setting keys withsettings list. Do not guess them. - A successful
rates quoteis the connectivity test. There is no separate “test connection” button. - Go live last. Switch sandbox off only after a sandbox quote returns rates, and set the production key before flipping the toggle.
Rather not run any of it yourself? Install the skill once, and an assistant like Claude Code handles the whole sequence:
$ npx skills add https://github.com/1TeamSoftware/skills --skill 1teamsoftware-wc-shippingWhat EasyPost gives you, and what it doesn’t
EasyPost normalizes a large carrier network behind one API. USPS, UPS, FedEx, DHL, Canada Post, and many regional carriers answer through the same API calls, so you buy a shipping label, get tracking, and validate a shipping address without integrating each carrier separately. You can also bring your own carrier accounts and keep your negotiated rates. For the current carrier list, see EasyPost’s carrier coverage. That reach is why developers and agencies pick it.
What EasyPost never does is show up in your store. It has no concept of a WooCommerce cart, a shipping zone, a product weight, or a box. Sign up, and you get an EasyPost API key and SDK docs, not a rate at checkout. So you either write the integration yourself, which is real work that breaks on every WooCommerce or carrier API change, or you use a shipping plugin that already does it.
The EasyPost Shipping plugin for WooCommerce turns the EasyPost API into live rates at cart and checkout, one-click and bulk labels, tracking, address validation, dimension-based box packing, and multivendor origin logic for Dokan, WCFM, WCMP, and YITH. Live rates run on the free plugin. Box presets, labels, tracking automation, manifests, and multivendor logic are PRO features you can add later, once rates are working and you’re ready to fulfill.
| Capability | EasyPost API alone | EasyPost + our plugin |
|---|---|---|
| Carrier network | Large, see EasyPost’s site | Same network |
| Live rates at WooCommerce cart and checkout | No | Yes |
| Labels from the order screen | An API call you build | One-click and bulk PDF (PRO) |
| Tracking and status emails | API responses | Auto-attached to orders (PRO) |
| Product, shipping box, and zone awareness | None | Built in |
| Multivendor vendor-origin rates | None | Dokan, WCFM, WCMP, YITH (PRO) |
| WP-CLI setup and verification | No | Yes |
| AI agent setup | No | Yes, via the shipping skill |
Prerequisites: your EasyPost account and EasyPost API keys
EasyPost gives every account two API keys, and the difference matters more here than with most carriers, because the plugin runs the entire flow against whichever one is active.
- Test (sandbox) key: runs against EasyPost’s test environment. No real shipments, no real charges. Use it for the whole setup.
- Production key: runs real shipments and real billing. Use it only after the test key proves everything works.
Both live in the EasyPost dashboard under your API keys page. Copy the test key first and hold the production key until a test quote succeeds.
A word on cost, since people ask. EasyPost has its own pricing, with a free tier and bring-your-own-carrier options, and those fees go to EasyPost, not to us. Our plugin is a flat license with no per-shipment cut. Live rates and the diagnostic commands work without an upgrade. Labels, tracking automation, box presets, and multivendor logic are PRO.
Click here to view the updated 2026 EasyPost pricing information.
Set it up from the command line
Built for a developer-first carrier like EasyPost, this WooCommerce shipping plugin surfaces its entire configuration as scriptable WP-CLI calls, letting you provision everything from the terminal rather than navigating admin panels. The EasyPost namespace is wc-easypost-shipping, and every command follows one shape: wp wc-easypost-shipping <command> [<subcommand>] [--flags]. Copy, paste, and swap in your real values. For every command, subcommand, and flag, see the full WP-CLI command reference.
See where you stand
Start by reading the current configuration so you know what is set before you change anything.
$ wp wc-easypost-shipping status
$ wp wc-easypost-shipping validate
status prints a snapshot of your config: version, carrier, the sandbox and debug flags, whether live rates are on, the origin, and how many method instances exist. It carries no API-connectivity field, so a healthy status is not proof the carrier is reachable. Only a rates quote proves that. validate runs the full battery of configuration checks against your EasyPost setup and stamps every one of them with a verdict of PASS, FAIL, WARN, INFO, or PENDING. The exit status is non-zero whenever any check fails, which is exactly what a deploy pipeline needs to gate a release on a clean multi-carrier config.
Find the real setting keys, then set credentials and origin
Credential setting keys differ per carrier, so you want the exact names from the source rather than guessing them. List the settings and read the real ones.
$ wp wc-easypost-shipping settings listThat prints every setting key with its current value, secrets shown as [REDACTED], so it’s safe to run anywhere. Note the exact key names for the test key, the production key, and the sandbox toggle, then write them. Replace TEST_KEY_NAME below with the actual key name you saw, and use the test key first.
$ wp wc-easypost-shipping settings set TEST_KEY_NAME "your-easypost-test-key"
$ wp wc-easypost-shipping settings set sandbox yes
$ wp wc-easypost-shipping settings set enableLiveShippingRates yes
$ wp wc-easypost-shipping settings set origin '{"name":"My Store","address":"123 Main St","city":"San Francisco","state":"CA","postcode":"94105","country":"US"}'
After setting a key, re-run settings list and confirm the row now shows [REDACTED] rather than empty. That verifies the write without printing the secret. At a bare minimum, the origin has to carry an address, a city, a country, and a postcode. For US and Canada addresses, supply state on top of that, since EasyPost returns tighter rates when it has the full picture.
Audit your products
Accurate shipping rates need accurate weights and dimensions of products and shippng boxes. EasyPost cannot quote a weight or dimension your products do not have, and a product with no weight silently drops its rate, which is one of the most common reasons a quote comes back empty. Find the gaps first.
$ wp wc-easypost-shipping products audit --detailed --format=json --limit=0The per-product lists (missing_weight_products, missing_dimensions_products, suspicious_data_products) only show up with --format=json. In table mode, --detailed returns the same summary as plain audit. Pass --limit=0 so a big catalog isn’t capped at 500 rows. Virtual and downloadable items drop out automatically, and variations inherit weight and dimensions from the parent, so correcting the parent flows to every variation. Beyond outright gaps, the audit flags values that look wrong, such as a weight past roughly 70 lb (32 kg) or any single side longer than about 72 in (183 cm).
Pick shipping services and shipping boxes
List the carrier services available in your account, then enable only the shipping services you want customers to see.
$ wp wc-easypost-shipping services --format=json
$ wp wc-easypost-shipping settings set services '{"usps_ground_advantage":{"enabled":true,"name":"USPS Ground Advantage"}}'
services lists the real shipping service IDs and their enabled status. Configure your enabled shipping services against that list, never against features, whose output is just a readout of capability flags. Enable exactly the IDs you saw, and don’t invent any; they won’t match and the rate won’t appear. International IDs differ from domestic ones, so enable both if you ship cross-border.
For shpping boxes, pull the carrier presets and fold them into the boxes setting. Here’s the catch: you can’t paste the preset output straight in. It arrives grouped by carrier with name/maxweight fields, so pick the entries you want and reshape each one into the flat boxes array, renaming name to boxName, adding enabled, and dropping carrier and maxweight.
$ wp wc-easypost-shipping boxes presets --carrier=USPS --format=json
$ wp wc-easypost-shipping settings set boxes '[{"enabled":"yes","boxName":"Small","type":"parcel","length":"8","width":"6","height":"4","weight":"0.5"}]'
boxes itself is a PRO command. On a free install, you skip the presets helper and write the boxes setting directly with the same flat array. A box typed parcel quotes on all carriers using dimensional weight. A carrier-specific box type such as USPS_SmallFlatRateBox quotes only that carrier, which is how flat-rate savings show up. Pull the real dimensions from boxes presets rather than typing them by hand.
Prove the connection
Run a live quote against a real product and destination. This is what confirms EasyPost is reachable and handing back shipping prices.
$ wp wc-easypost-shipping rates quote --products="123" --destination="500 5th Ave, New York, NY 10001, US"rates quote spins up a temporary order, asks EasyPost API for a live quote, then returns {service, cost, days}. Feed it a ZIP or postcode together with a country and you have the minimum EasyPost needs to price the shipment; hand it a complete street address and the quote comes back sharper. A quote that returns rates is the only real proof the carrier is reachable, and there’s no separate test-connection command, by design. One gotcha when you script it: the command prints a human-readable log line before the JSON, so parse the array from the first [ to the matching ] instead of leaning on 2>/dev/null.
The fast path: hand it to an AI agent
Install the skill once, and an assistant like Claude Code drives every command above from plain English.
$ npx skills add https://github.com/1TeamSoftware/skills --skill 1teamsoftware-wc-shippingEach skill is a written playbook, and the agent picks the right one for what you asked: a fresh setup, cleaning up product data, sizing boxes, tuning rates, or tracking down why checkout has gone quiet. The plugin ships 6 skills, and PRO adds 4. There’s no hidden layer here. The agent runs the same CLI you would, and it stops to ask for secrets instead of making them up. Just describe what you want with real constraints. These are the kinds of multi-step requests it’s built for:
- “Set up EasyPost shipping from scratch. Sandbox key is EZTK-test-abc123, we ship from 215 Clayton St, San Francisco 94117. Before live rates, audit my catalogue for missing weight or dimensions of products, recommend a starter shipping box set from what I actually sell, and prove shipping rates come back with a real quote. Ask one question at a time and don’t touch my production key yet.”
- “We’re going live on EasyPost this week. Confirm the plugin’s license key is active, set our production key and origin, audit and fix product data, build a shipping box set, confirm the carrier supports label purchase and tracking via
features, then buy a test label and pull tracking on one real order so I can see the whole pipeline before we open up.” - “
rates quoteworks from the CLI but checkout shows nothing for some customers. Figure out which zone those addresses fall into, check whether the EasyPost shipping method is actually attached, and add it where it’s missing.”
Show live EasyPost rates at WooCommerce checkout
A successful rates quote is not the same as rates appearing at checkout. The switch that actually turns rates on is this: the shipping plugin has to be attached as a shipping method on every zone you sell to. It only returns rates on zones where its method is active, so if the quote works but checkout shows nothing, an inactive zone is almost always why. The shipping zones situation further down fixes it through WP-CLI. In the admin you do the same under WooCommerce, then Settings, then Shipping: open the zone, click Add shipping method, choose EasyPost shipping, save, and re-run wp wc-easypost-shipping zones to confirm plugin_active: yes. The other cause is product data. A quote with a known-good product ID can succeed while a real cart fails because the real product has no weight, which is what the audit catches. With shipping zones and product data both right, a buyer enters an address and sees live EasyPost rates calculated from your origin, with your boxes and enabled services.
Verify and go live
Go live last. Set the EasyPost production key first, then flip the toggle. Use the production-key name from settings list in place of LIVE_KEY_NAME.
$ wp wc-easypost-shipping settings set LIVE_KEY_NAME "your-easypost-production-key"
$ wp wc-easypost-shipping settings set sandbox no
$ wp wc-easypost-shipping settings set debug no
$ wp wc-easypost-shipping validate
$ wp wc-easypost-shipping rates quote --products="123" --destination="500 5th Ave, New York, NY 10001, US"
Setting the live key before sandbox no matters. Skip it, and no token is active, so rates fail. Then work the full checklist: validate returns no FAIL (a WARN on boxes is fine), rates quote returns rates for a real product and address in live mode, zones shows the shipping method active on every shipping zone you sell to, the production-key row reads [REDACTED], and a real test order at checkout shows the rates you expect. The same workflow configures Shippo, ShipStation, FedEx, and the rest, because only the namespace changes. The deeper version of this pattern lives in our pillar guide on configuring WooCommerce shipping with AI agents and WP-CLI.
Common situations you’ll hit
Thousands of products are missing weight or dimensions
Over time, product catalogues grow through years of imports and updates. Then one small issue, like missing product weights, can quietly cause shipping rates to disappear at checkout. The customer adds that item, reaches checkout, sees no shipping option, and leaves. Nobody on your side sees an error that clearly points to the problem.or to chase.
$ wp wc-easypost-shipping products audit --detailed --format=json --limit=0The agent reads the audit arrays, looks up real specs from manufacturer sources, converts them to your woocommerce_weight_unit and dimension_unit, then writes them to the parent and every variation with wp wc product update. Only high-confidence values get applied. The low-confidence and not-found ones come back to you for sign-off, and no figure is ever invented to fill a blank. Completeness climbs, and rates stop disappearing.
Which shipping boxes should I use
The situation: shipping rates appear too high when parcels are quoted using oversized boxes that do not match the actual product catalogue. A small item priced as if it ships in a large box shows the buyer an inflated shipping cost. Let the data pick the shipping box set instead.
$ wp wc-easypost-shipping products stats --format=json
$ wp wc-easypost-shipping products orders --since=2025-12-01 --format=json
$ wp wc-easypost-shipping products fit-box --length=12 --width=8 --height=6
products stats describes the real product shapes. products orders describes the real carts: items per order, top destination states, domestic versus international. products fit-box takes box dimensions (all three required) and reports coverage plus a sample of products that won’t fit; it rotates parcels for you. For heavy items, compare a USPS flat-rate box against a generic parcel with two rates quote calls and keep whichever wins. Flat-rate pricing only shows in live, not sandbox, so re-check there.
Watch this video to see how the PRO version of the shipping plugin packs products for shipping.
No shipping rates in some regions: shipping zones
The situation: shipping rates work for some customers and not others, usually the international ones, so the orders you most want to win are the ones quietly failing at checkout. Across EasyPost Shipping PRO setups, no single misconfiguration triggers “no rates at checkout” more often than this one. The WooCommerce shipping plugin only returns rates for shipping zones where its method has been added. If the EasyPost Shipping method is missing from a shipping zone, buyers in that zone will not see any shipping options.
$ wp wc-easypost-shipping zones
$ wp wc shipping_zone_method create --zone_id=2 --method_id=wc-easypost-shipping --user=1
zones lists each WooCommerce zone alongside its plugin_active, instance_id, and method_id. Wherever plugin_active: no shows up, that’s a zone missing the shipping method, so add it there. Run zone-based mode and any zone without the shipping method returns nothing for that destination; switch to global mode and the gap stops mattering. The classic slip is wiring the method to “United States” while leaving “Rest of World” untouched, which is exactly why domestic shoppers get rates and international ones get a blank checkout.
Which shipping services and carriers to leave off
EasyPost can return rates across a long list of carriers and services, and the temptation is to switch on everything. A checkout stacked with ten near-identical options doesn’t help anyone decide. It freezes the shopper and drags the cart while the plugin packs and quotes each line. Keep it to a couple of options per speed tier, say one economy, one standard, and one expedited. In practice, that means leaving freight and LTL off unless you ship pallets, pruning duplicate tiers from a single carrier (USPS by itself returns Ground Advantage, Priority, and Priority Express), turning off international services on a domestic-only store or the reverse, and skipping signature, Saturday, and hold-for-pickup add-ons until a customer actually asks.
Rate tuning: markup, floors, and rate count
The situation: shipping is undercharging, the checkout shows too many options, or a $1.50 Media Mail rate is slipping through. The adjustment fields all live in the free plugin, and you write them with the free settings command.
$ wp wc-easypost-shipping settings set priceAdjustmentPercent 1.15
$ wp wc-easypost-shipping settings set priceAdjustment 2.00
$ wp wc-easypost-shipping settings set minRateCost 5.00
$ wp wc-easypost-shipping settings set maxShippingRates 3
Watch the multiplier here: priceAdjustmentPercent is exactly that, so 1.15 adds 15%. Put a bare 15 in that field and every rate balloons fifteenfold. The adjustments apply in a fixed order: carrier rate, then the percentage, then the fixed amount, then the floor and ceiling, and last the max-count cap. Re-quote once before and once after and eyeball the new numbers, which settle near a live EasyPost <live cost> rather than any hardcoded figure.
Buy a sandbox test label before going live
The situation: you want to watch the full fulfillment pipeline run once, safely, before real customers hit it.
$ wp wc-easypost-shipping settings set sandbox yes
$ wp wc-easypost-shipping labels purchase --orders=1240
$ wp wc-easypost-shipping track <shipment-id> --order=1240 --format=json
$ wp wc-easypost-shipping labels pdf --orders=1240 --output=/tmp/test-label.pdf
labels purchase creates the shipment if needed and logs how many labels it bought (Order 1240: N label(s) purchased). It does not print the tracking number. Pull that from track (which wants both the positional shipment ID and --order) or shipments get, then export the printable PDF with labels pdf. Labels, tracking, and manifests are PRO features.
Troubleshooting
No rates at checkout. Run validate and zones first, since the plugin returns rates only on active zones. Then run products audit to rule out missing weights, and rates quote to test the carrier directly. One of those three almost always explains it.
Rates work in the CLI but not at checkout. A zone problem, nearly every time. zones shows which zones the method is on; add it to the ones that are missing it.
EasyPost connection fails with no useful message. Turn on debug, re-run the same rates quote so EasyPost’s raw response is captured, read the actual error from wp-content/uploads/wc-logs/, then turn debug back off so secrets aren’t logged in production.
$ wp wc-easypost-shipping settings set debug yes
$ wp wc-easypost-shipping rates quote --products="123" --destination="500 5th Ave, New York, NY 10001, US"
$ wp wc-easypost-shipping settings set debug no
Rates appear but look wrong. Check your enabled shipping services and shipping boxes. A shipping box too small for the cart or a misconfigured service shows up directly in the numbers.
Changed settings, but checkout still shows old rates. Caching. Check settings get cache and settings get cacheExpirationInSecs, run wp cache flush, and if a persistent object cache is desyncing, set cache no to confirm the fresh rates, then turn it back on.
Frequently asked questions
Not on its own. EasyPost is a shipping API, not a WooCommerce plugin. You need a connector that turns EasyPost’s responses into shipping methods at checkout. The EasyPost Shipping PRO plugin for WooCommerce does that, exposing EasyPost’s carrier network as live rates plus labels and tracking inside WordPress.
Install the plugin, add your EasyPost API key, set your origin address, enable a short list of services and your real boxes, and attach the shipping method to your zones. A successful wp wc-easypost-shipping rates quote confirms the connection before you test at checkout.
Run wp wc-easypost-shipping settings list and read the exact key names from the output. The list shows the test key, the production key, and the sandbox toggle, each set with wp wc-easypost-shipping settings set <key> <value>.
Yes. Install the 1teamsoftware-wc-shipping skill, point an assistant like Claude Code at your store, and ask it to set up EasyPost. It runs the documented WP-CLI commands and pauses to ask for anything sensitive, like the API key. The skill is the same CLI a human would use, with no hidden layer.
No, to start. The free version of the plugin gives you sample live rates at checkout and all the diagnostic commands without an upgrade to order status, settings, products, services, shipping zones, rates quote, and validate. For Shipping labels, bulk PDFs, tracking automation, multivendor origin logic, and shipping box presets are PRO version only.
Yes. EasyPost has its own pricing, including a free tier and bring-your-own-carrier options, separate from the plugin license. Those fees go to EasyPost. Our plugin is a flat license with no per-shipment fee from us.
Keep the agent on the test key throughout setup and swap in the production key yourself once a sandbox quote comes back clean. The CLI masks keys wherever it prints them, and if you’d rather keep secrets out of the database entirely, define them as wp-config.php constants, which also makes staging-to-production promotion tidy.
It depends on your carrier mix and how much you want to build. EasyPost has a large carrier network and a developer-first API. We break down the differences in our ShipStation vs Shippo vs EasyPost comparison.
Get live EasyPost rates on your WooCommerce store
Start free, prove live rates against your real catalogue, and upgrade when you need shipping labels and tracking. This is the same setup trusted by 7,000+ WooCommerce stores using our shipping plugin, helping it maintain a 4.89 out of 5 rating.
- Try it free: EasyPost Shipping on WordPress.org. Click here to see the guide on how to set up the free version of the plugin in under 5 minutes.
- Get labels, tracking, and multivendor: EasyPost Shipping PRO for WooCommerce
- Still choosing a Multi-carrier API? Compare ShipStation, Shippo, and EasyPost
Need Help Configuring Your WooCommerce Shipping Plugin?
Setting up shipping rates correctly can be tricky, especially if your WooCommerce store has multiple shipping zones, product dimensions, shipping boxes, carrier services, vendor locations, or special shipping rules.
If you need help configuring one of our plugins, you can book our Plugin Configuration Service. Our team will help set up the plugin to match your WooCommerce store’s shipping needs, so your customers can see accurate shipping options at checkout.
Whether you need help with carrier services, shipping zones, box packing, multi-vendor shipping, or custom setup requirements, we can guide you through the configuration and make sure the plugin works properly for your store.
Book our configuration service today and let us help you set up your WooCommerce shipping plugin with confidence.
Written by 1TeamSoftware, the team behind a suite of WooCommerce shipping plugins for EasyPost, Shippo, ShipStation, FedEx, and more, used across thousands of stores.