
How to Enable Australia Post in Your Shippo Account
1 min read
If you are using the Multi-Carrier Shippo Shipping PRO for WooCommerce plugin for your WooCommerce store and shipping from Australia, you might have noticed that Australia Post isn’t immediately visible in your default Shippo carrier list.
Since Shippo accounts default primarily to US-based carriers, international merchants need to manually add regional carriers.
This guide and video tutorial walk you through enabling Australia Post inside your Shippo account. Once enabled, you can retrieve real-time shipping rates and print labels directly within the Multi-Carrier Shippo Shipping PRO for WooCommerce plugin from your WooCommerce store.ore.
Tutorial: How to Enable Australia Post in Shippo #
For a quick walkthrough, watch our step-by-step video:
Link: How to enable Australia Post in your Shippo account
Follow these steps to connect your Australia Post account to Shippo:
Step 1: Navigate to the Carriers Dashboard in Shippo account #
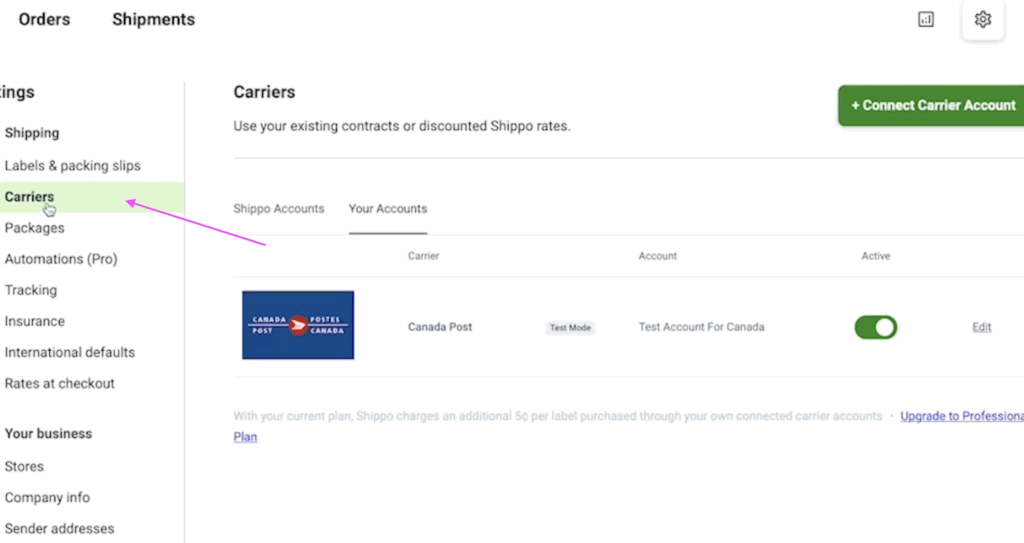
Log in to your Shippo dashboard. From the left-hand sidebar menu, click on Settings and select Carriers.
Step 2: Connect a New Carrier Account #
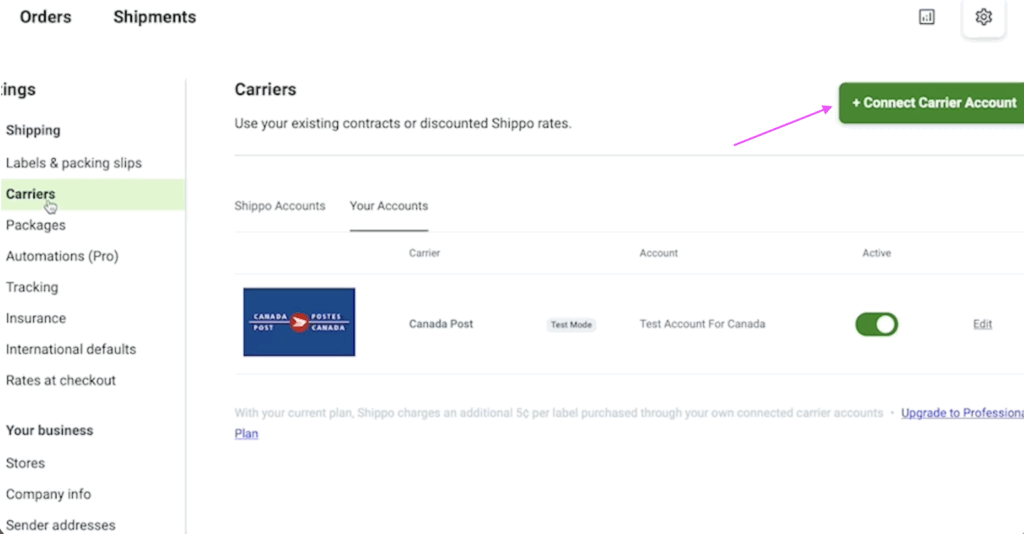
In the top-right corner of the Carriers page, click on the green Connect Carrier Account button.
Step 3: Search for Australia Post #
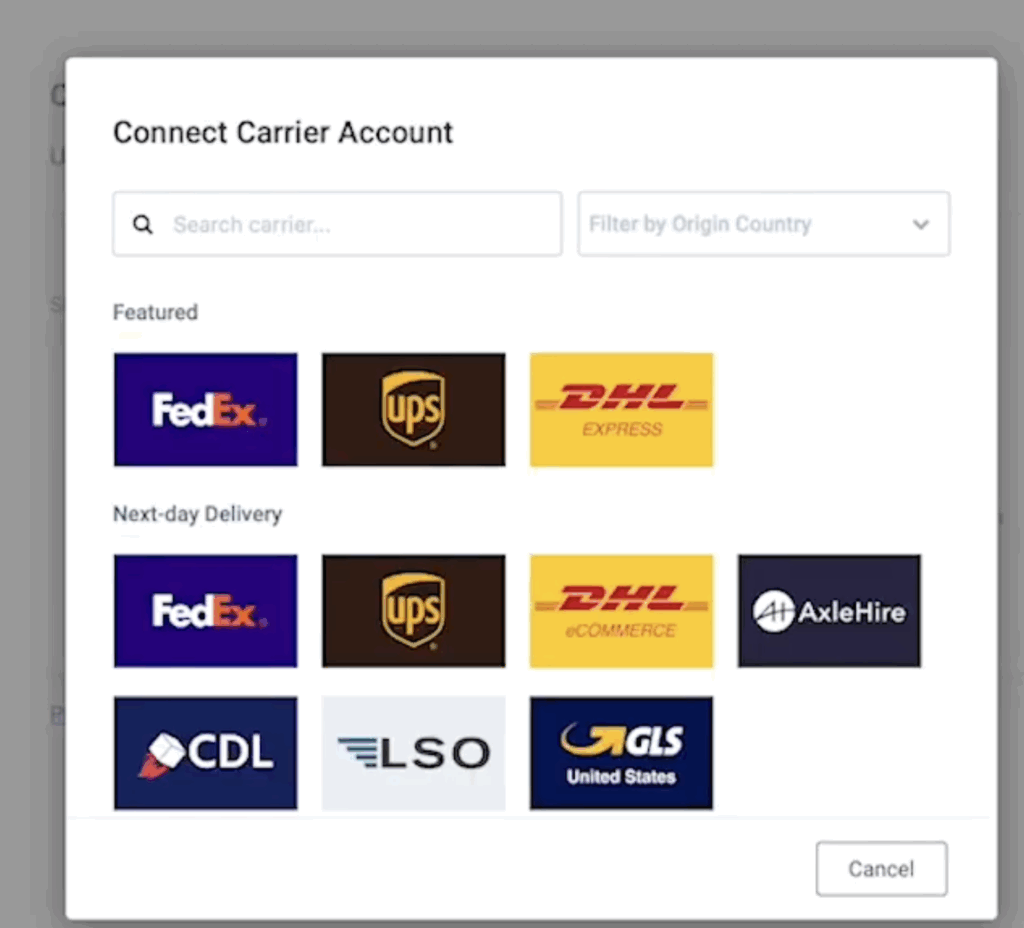
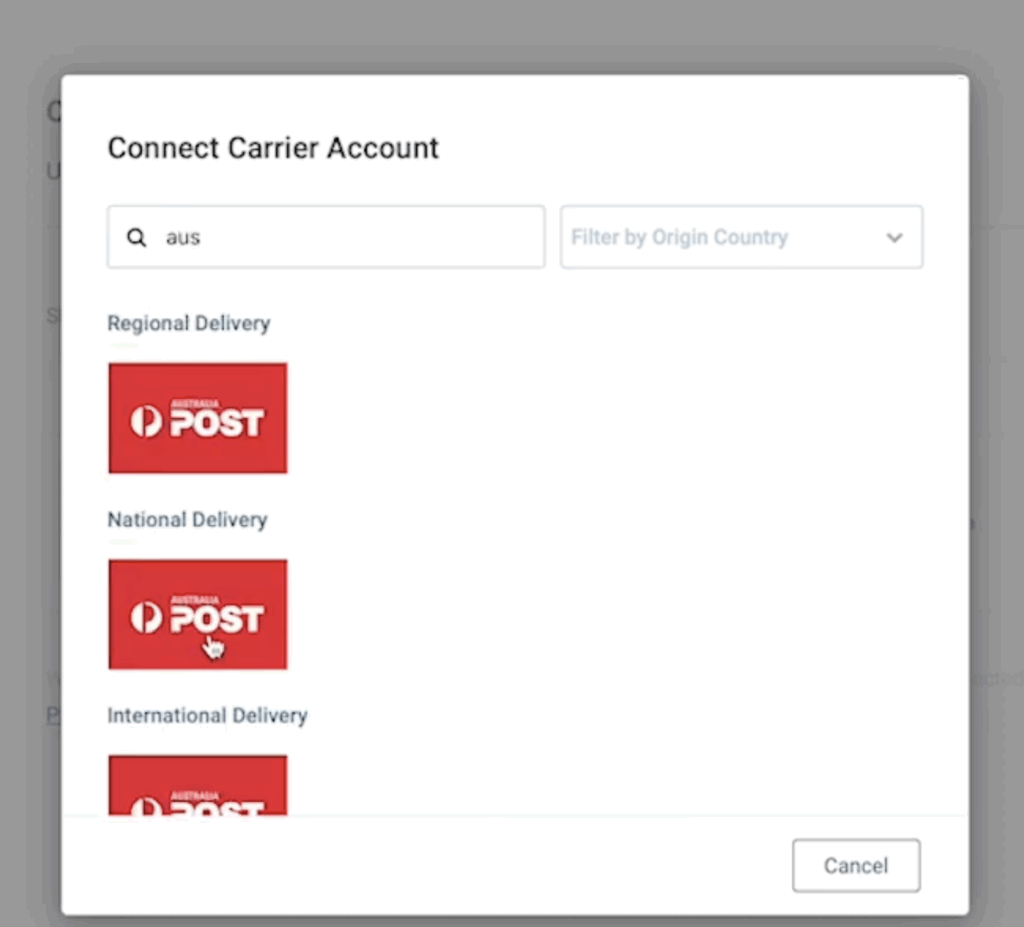
A modal window will appear. In the search box, type Australia or aus to filter the carrier list. Locate Australia Post in the search results.
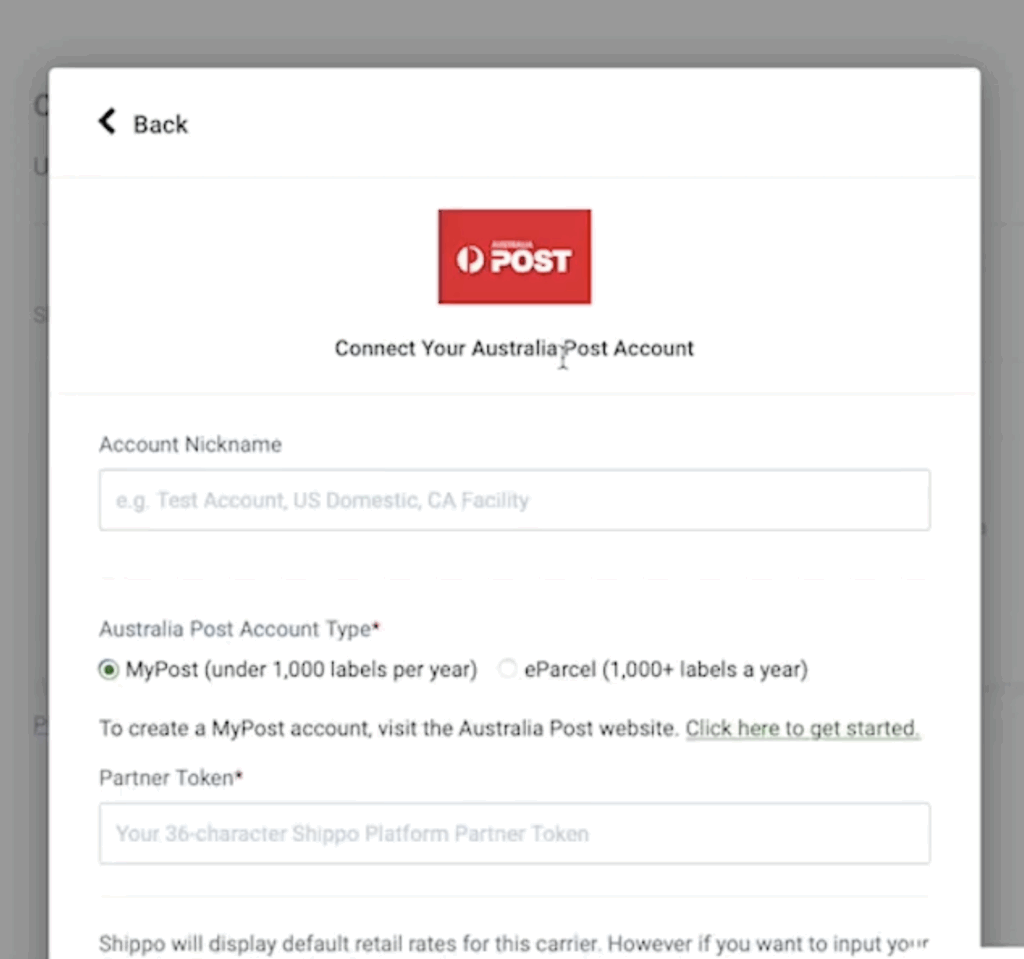
Step 4: Configure and Connect Your Account #
Select your Australia Post account type and enter your credentials:
- Account Description: Enter a name for this carrier connection (e.g., “My Australia Post Account”).
- Account Type:
- MyPost Business: Select this if you ship under 2,000 labels per year. You will need to enter your Merchant Token (retrieve this from your MyPost Business portal).
- eParcel: Select this if you have a contract and ship over 2,000 labels per year. You will need to enter your contract API credentials.
- Enable Test Mode: Toggle this checkbox if you want to test the connection before going live.
- Click the green Connect Account button at the bottom of the form.
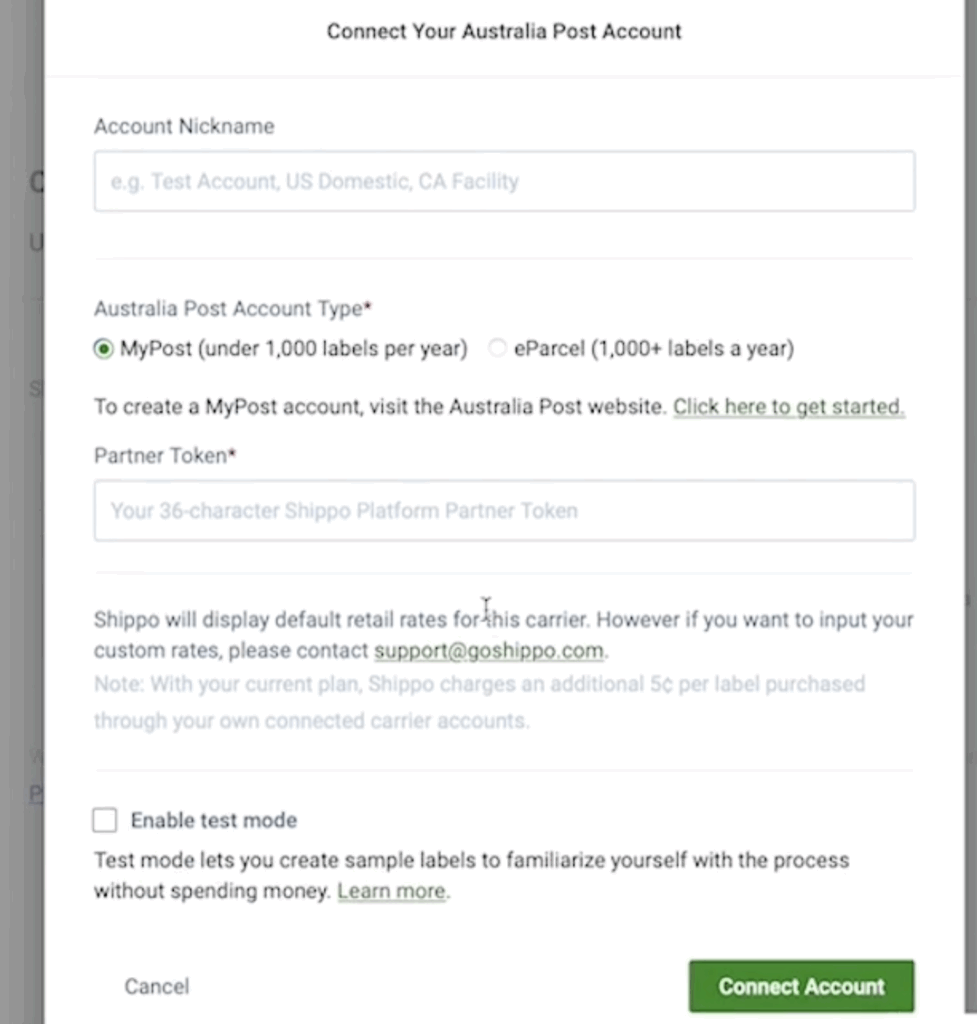
TIP: By default, Shippo will display standard carrier rates for Australia Post. If you want to import your custom contracted rates, you should contact Shippo support.
What to do Next? #
Once your Australia Post account is connected in Shippo:
- Navigate back to your WordPress admin panel.
- Go to WooCommerce > Settings > Shipping > Shippo Shipping PRO.
- In the plugin settings, refresh your shipping services list, and start offering Australia Post live shipping rates to your customers!


